
Set soil moisture, choose right tiller, till shallow passes, add compost, avoid overworking.
If you want to know how to use tine tiller for home garden, you’re in the right place. I’ve prepped dozens of beds in clay, loam, and sandy soil. I’ll show you clear steps, safe habits, and pro tips. By the end, you’ll handle a tiller with confidence and protect your soil for strong plants.
Understand Your Tine Tiller and When to Use It
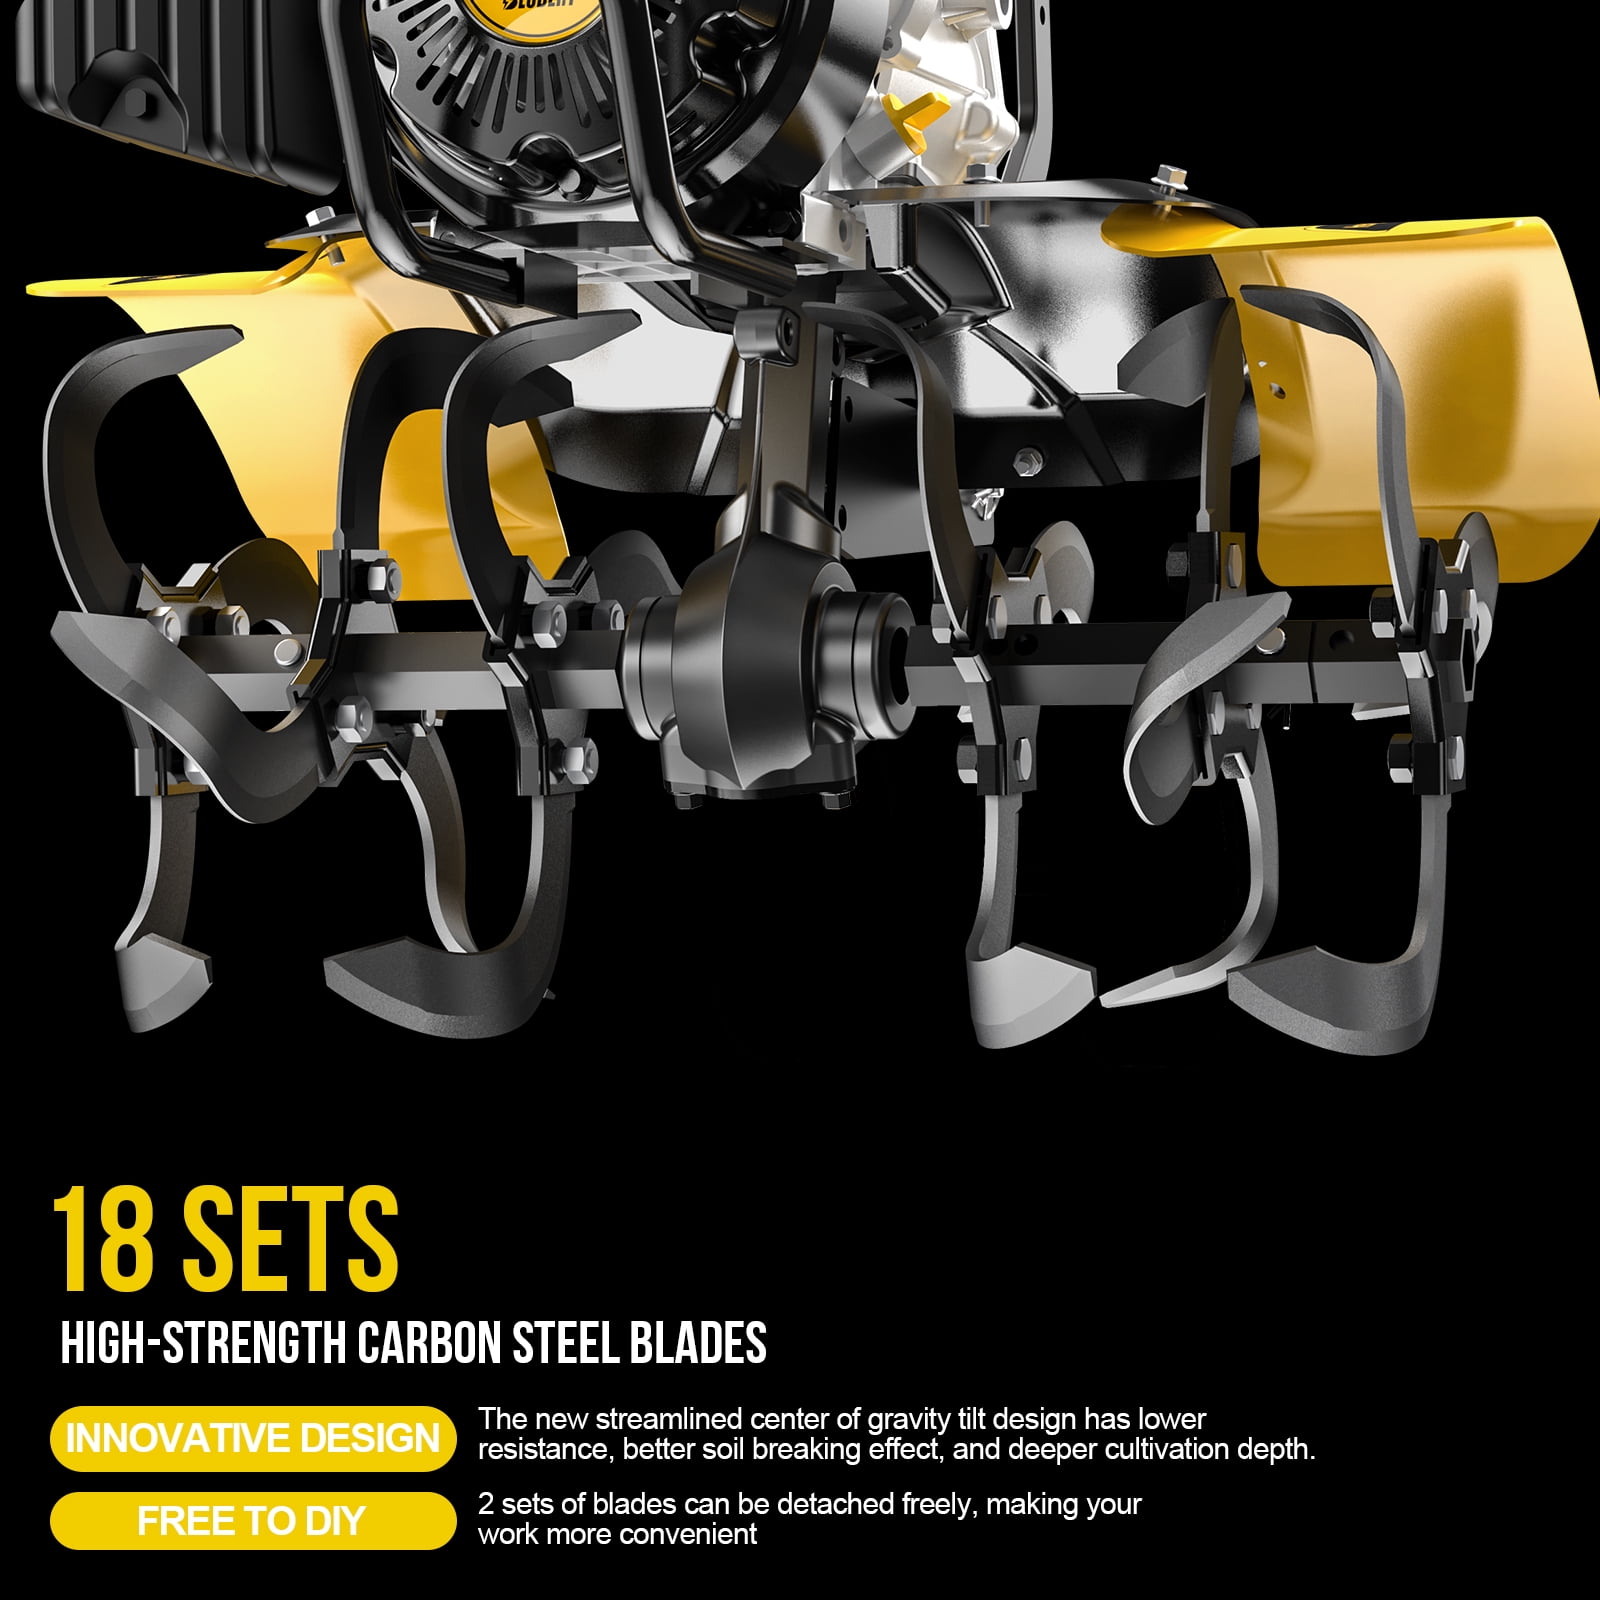
Tine tillers break and mix soil using rotating blades. They save time in new beds and compact spots. They also help mix compost and amendments before planting.
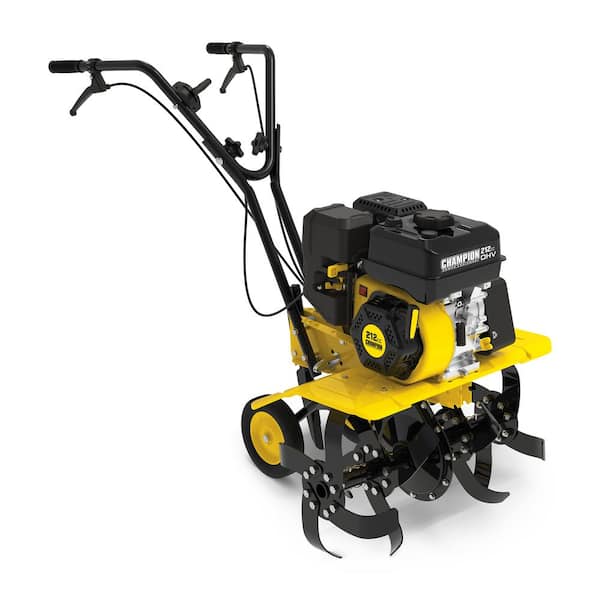
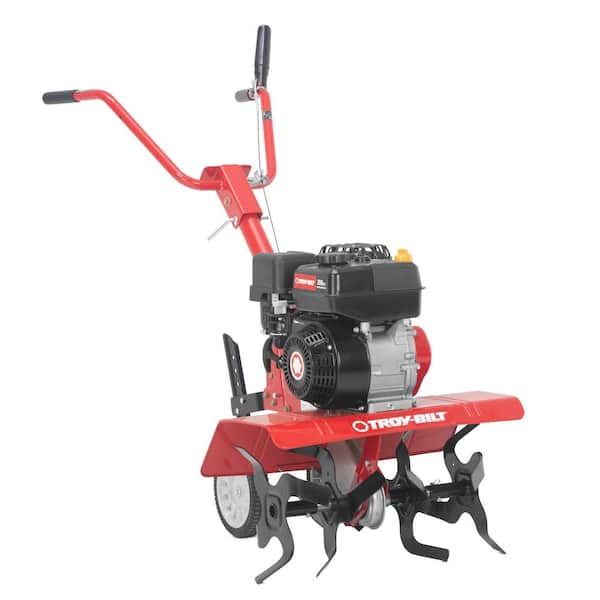
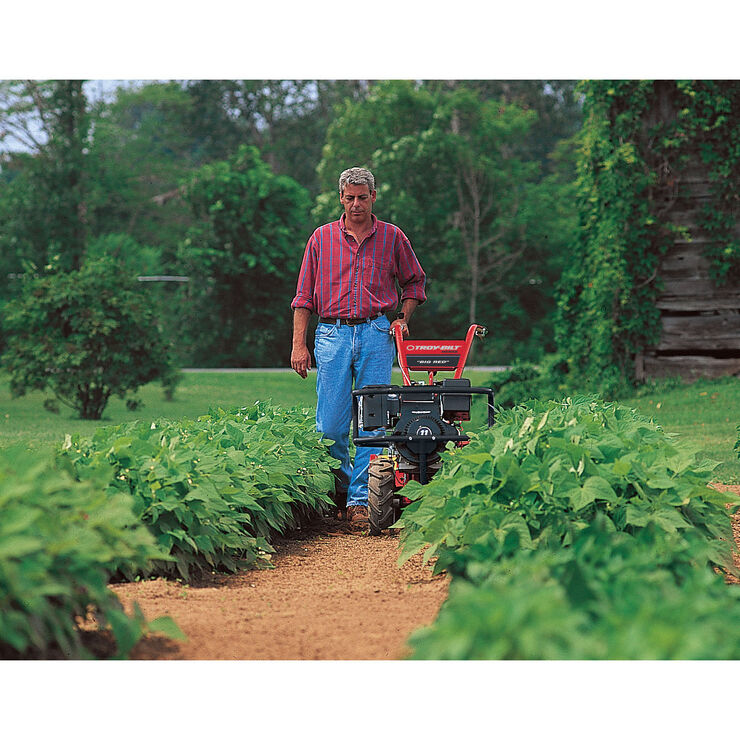
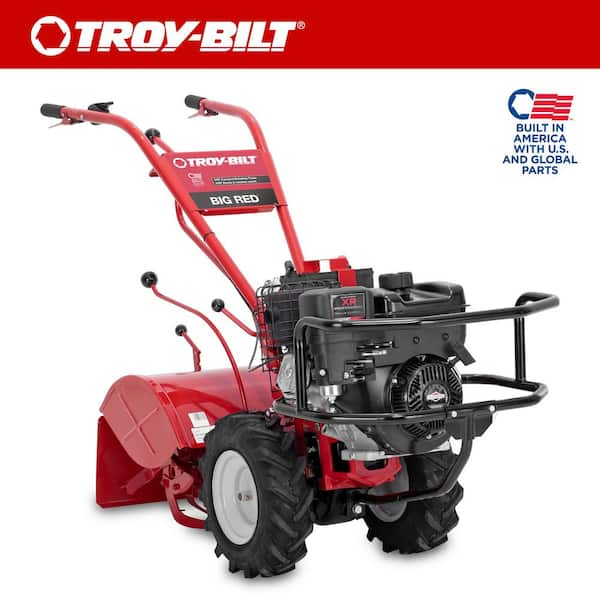
Know your type and garden goal before you start. Front-tine tillers pull forward and suit small beds. Rear-tine tillers push forward and handle tough ground. Mini-cultivators are light and best for shallow work.
Before you learn how to use tine tiller for home garden, match the tool to your soil. Use deeper power for new ground. Use lighter passes for established beds. I will show you how to use tine tiller for home garden with less effort and better soil care.
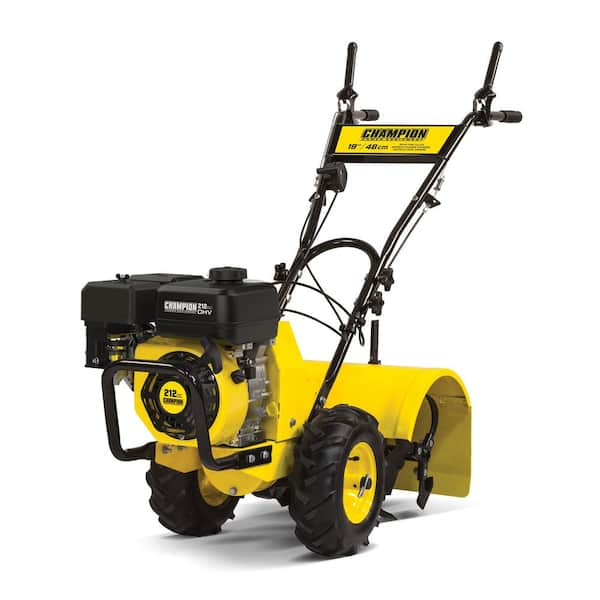
:strip_icc()/bhg-champion-counter-rotating-gas-rear-tine-tiller-kathy-barnes-14-1-615271b40f7742e6901536b75d22e66c.jpeg)
Safety And Setup Checklist
Good prep makes the job smooth and safe. A few minutes here prevent hours of trouble and repair.
Safety basics:
- Wear closed-toe shoes, gloves, and eye protection.
- Tie back hair and avoid loose clothes.
- Keep kids and pets away.
Tool check:
- Confirm fuel or battery level and check oil.
- Tighten tine bolts and handlebar hardware.
- Adjust handle height to your waist.
Site prep:
- Remove rocks, twine, and big roots.
- Mark beds, paths, and utilities.
- Water lightly the day before if soil is very dry.
Soil moisture test:
- Squeeze a handful. It should hold shape, then crumble with a tap.
- If it smears or oozes, it is too wet. Wait.
- If it won’t hold shape at all, it is too dry. Lightly water and wait a few hours.
Source: homedepot.com
Step-By-Step: How To Use A Tine Tiller For Home Garden
This is the simple, repeatable process I teach new gardeners. It balances power with soil care.
- Outline your bed. Use stakes and string for straight rows. Plan paths to avoid stepping on fresh tilth.
- Set tine depth. Start shallow at 2 to 3 inches. You can go deeper in later passes.
- Start at the edge. Engage the tines. Let the machine move itself. Guide it. Do not fight it.
- Walk slow. Keep arms relaxed. Maintain a steady pace and line.
- Overlap each pass by a few inches. This evens the finish and removes strips.
- Stop and check. Test depth. Check moisture and clod size. Adjust speed or depth.
- Make a second pass at 90 degrees if needed. Cross-tilling evens texture in heavy soil.
- Rake smooth. Remove roots and stones. Shape beds and paths.
- Add compost and amendments. Till or mix them shallowly.
- Water lightly to settle dust and help microbes.
Use these steps when you ask how to use tine tiller for home garden in clay or sand. The same flow works in most yards. If you face tough sod, start with a higher depth setting, then reduce and repeat.
Tilling Patterns, Depth, And Soil Health
Tilling is a tool, not a rule. Too much tilling harms soil life. You want loose soil for roots, but not powder.
Depth guidelines:
- New beds: 4 to 6 inches on the first pass, then reassess.
- Established beds: 2 to 4 inches to refresh the top zone.
- Avoid going deeper than needed to protect structure and microbes.
Patterns that work:
- Straight runs for rows. Curve gently around edges.
- Cross pattern only if clods remain after the first pass.
- Keep your feet in the same paths to limit compaction.
Studies show over-tilling can reduce pore space and organic matter. That is why I keep passes short and shallow. It is a smart way for how to use tine tiller for home garden while keeping soil healthy.
Mixing Compost, Fertilizer, And Fixing Weeds
Amendments work best when mixed where roots will feed. Avoid burying rich material too deep.
Simple recipe:
- Spread 1 to 2 inches of finished compost over the bed.
- Add a slow-release organic fertilizer if your soil test suggests it.
- For acidic soil, consider lime. For alkaline soil, consider sulfur. Follow label rates.
How to blend:
- Till shallowly to 2 to 3 inches to fold compost into the root zone.
- Rake smooth and form rows or raised beds.
- Water to start microbial activity.
Weed strategy:
- Till only when weeds are small. Big weeds regrow from fragments.
- Use a tarp or solarize to weaken heavy weed mats before you till.
- For how to use tine tiller for home garden in weed-prone spaces, keep the tilling light and follow with mulch.
Common Mistakes And How To Fix Them
Avoid these pitfalls. They are easy to prevent and hard to undo.
Mistakes to avoid:
- Tilling wet soil. It turns to concrete later.
- Going too deep on the first pass. It brings up dormant weed seeds.
- Rushing. Fast walking leaves ridges and uneven depth.
Quick fixes:
- If soil clods are big, wait a day to dry, then shallowly retill.
- If the tiller bounces, reduce depth and add a second pass.
- If tines clog with vines, stop and clear. Do not yank while running.
When you learn how to use tine tiller for home garden, treat the machine like a helper. You guide. Let the tool do the heavy work.
Maintenance, Storage, And Tine Care
A well-kept tiller is safer and lasts longer. It also makes cleaner soil.
Routine care:
- Check oil every 5 hours of use. Change as the manual says.
- Clean air filter and cooling fins at season’s end.
- Tighten belts and cables if the drive slips.
Tine care:
- Knock off soil after each use. Dry metal rusts fast.
- Sharpen or replace dull tines. Sharp tines cut, dull tines smear.
Storage:
- Drain fuel or add stabilizer for winter.
- Store dry and covered. Keep the spark plug wire off for safety.
This plan supports how to use tine tiller for home garden with fewer breakdowns. It keeps power steady and control easy.
Real-World Examples And A Simple Seasonal Plan
When I built a bed in heavy clay, I ran two shallow passes. I added compost and leaf mold, then one more light pass. The soil stayed crumbly, not dusty, all summer.
Try this seasonal plan:
- Early spring: Check moisture. Make one shallow pass. Add compost.
- Late spring: Till in fresh weeds lightly. Shape rows. Plant.
- Mid-summer: Spot-cultivate between rows with a mini-tiller.
- Fall: Till in cover crop seeds at 1 inch. Water and rest the bed.
This is a clean way for how to use tine tiller for home garden across the year. It protects structure and boosts yields.
Frequently Asked Questions Of How To Use Tine Tiller For Home Garden
What size tiller do I need for a small yard?
For beds under 300 square feet, a front-tine or mini-cultivator works well. Choose a rear-tine for dense sod or large plots.
How dry should the soil be before I till?
Moist like a wrung-out sponge is ideal. If it smears in your hand, wait a day.
Can I add compost and fertilizer while tilling?
Yes, spread compost first and till shallowly to mix. Follow soil test guidance for any fertilizer.
How deep should I till for vegetables?
Most vegetables thrive with 4 to 6 inches in new beds. Use 2 to 4 inches to refresh established beds.
Will tilling increase weeds?
Deep tilling can bring up weed seeds. Use shallow passes and mulch afterward to reduce germination.
Is cross-tilling always needed?
No, only if clods remain after the first pass. Cross-tilling helps even texture but can overwork soil if overused.
Can I till near tree roots?
Avoid deep tilling near trees. Use shallow cultivation or hand tools to protect roots.
Conclusion
You now have a clear plan to prep beds fast and protect soil life. Start with moisture right, go shallow first, and mix compost with care. Keep your tiller sharp and your passes gentle.
Put these steps into action this weekend. Try one bed and note the results. If this guide helped, share it with a gardening friend or leave a question so I can help you dial in your setup.