Disconnect power, lift the tiller, pull pins or bolts, slide tines off carefully.
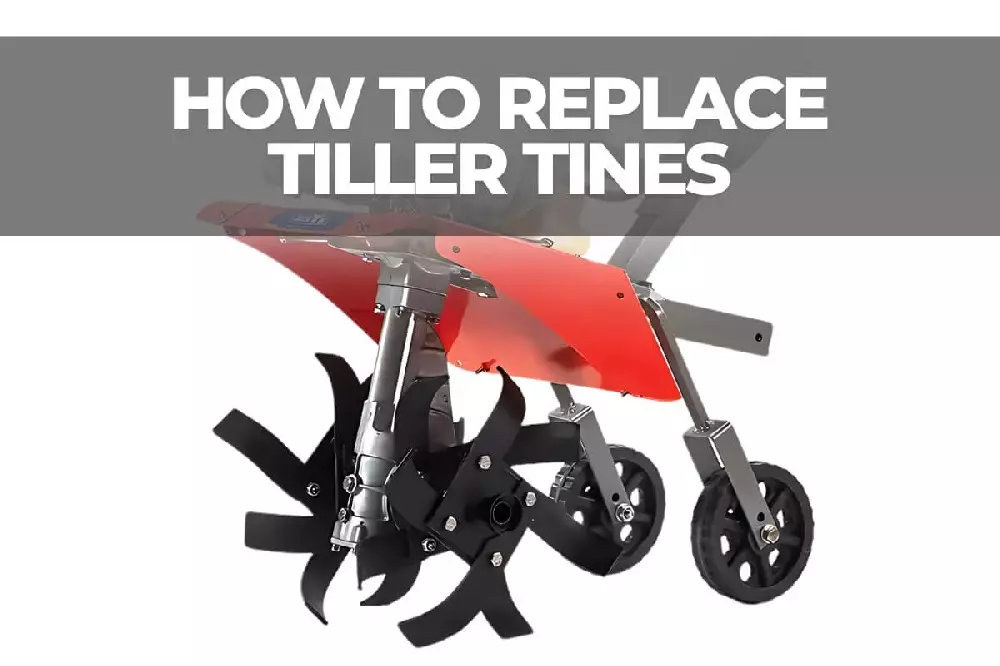
If you want a clean, fast, and safe result, you are in the right place. I’ll walk you through how to remove tiller tines step by step, with tools, safety tips, and pro tricks I use in the shop. By the end, you will know how to remove tiller tines without breaking parts, wasting time, or guessing what goes where.
Safety first and the tools you need
Working on a tiller is simple when you do it safe. Tines are sharp. Dirt hides bolts. Take a few minutes to prep and you will save hours.
Safety setup:
- Pull the spark plug wire on gas models. Remove the battery on electric models.
- Remove the key and let the engine cool.
- Close the fuel valve if you will tilt the tiller. If there is no valve, run it dry.
Tools you will likely need:
- Work gloves and eye protection
- Wire brush and a stiff scraper
- Penetrating oil
- Pliers for cotter pins
- Sockets and wrenches
- Punch and small hammer
- Three-jaw puller if tines are seized
- Wood block to wedge tines
- Anti-seize and light grease
- New cotter pins or shear bolts
Pro tip from my bench:
- Put a small tarp under the tiller. It keeps dirt off your sockets and helps you spot dropped pins.

Source: youtube.com
Identify your tiller type and tine system
Knowing your setup makes how to remove tiller tines much easier. Most tillers fall into two groups.
Front-tine:
- Tines sit in front. The wheel is behind.
- Tines often slide off a shaft with cotter pins and washers.
- Some use shear bolts that snap under shock to protect the gearbox.
Rear-tine:
- Tines sit at the back. They may counter-rotate or rotate forward.
- Many use keyed hubs with a nut and lock washer.
- Watch for left-hand threads on one side. Look for an L or arrow.
Common tine fasteners:
- Cotter pins through a clevis pin
- Hex bolts with lock nuts
- Snap rings or circlips
- Keyed hubs with a set screw
If you are not sure, check the manual. Brands use small changes, but the removal steps stay the same.

Step-by-step: how to remove tiller tines
Follow this simple flow. This is the exact process I use for customer machines. It keeps parts in order and protects seals.
- Clean and secure the machine
- Brush off packed soil and roots around the hub.
- Place the tiller on a flat, stable surface.
- Wedge a wood block between a tine blade and the frame to lock rotation.
- Disconnect and prepare
- Pull the spark plug wire or battery lead.
- Close the fuel valve. If you must tip the tiller, keep the carb up to avoid leaks.
- Expose the fasteners
- Remove tine shields if they block access.
- Spray penetrating oil on pins, nuts, and the hub. Give it a few minutes.
- Remove cotter pins or bolts
- For cotter pins: Straighten the ends and pull with pliers. Slide out the clevis pin and washer.
- For bolts: Note the nut and washer order. Hold the bolt head and remove the nut. Keep parts grouped.
-
Watch for left-hand threads
– On some rear-tine models, the right side nut may be left-hand. Turn it the other way to loosen. Check for an L stamp or arrow. -
Slide tines or tine set off the shaft
- Wiggle the tine hub while pulling straight out.
- If stuck, tap the hub, not the shaft, with a hammer and a wood buffer.
- Use a three-jaw puller on the hub if needed. Apply steady pressure, then tap the hub to break rust.
- Remove keys or clips
- If there is a square key in the shaft keyway, catch it before it falls.
- Place keys, clips, and washers in a small tray.
- Inspect as you go
- Check the shaft for grooves, rust, or burrs.
- Spin the shaft by hand. If it grinds or feels loose, the bearing or gear needs a look.
- Protect the shaft
- Wipe clean and add a thin film of grease.
- Cap the end with a rag while you work to keep dirt out.
This set covers how to remove tiller tines on front and rear units. Take photos as you go if it is your first time. Your future self will thank you.
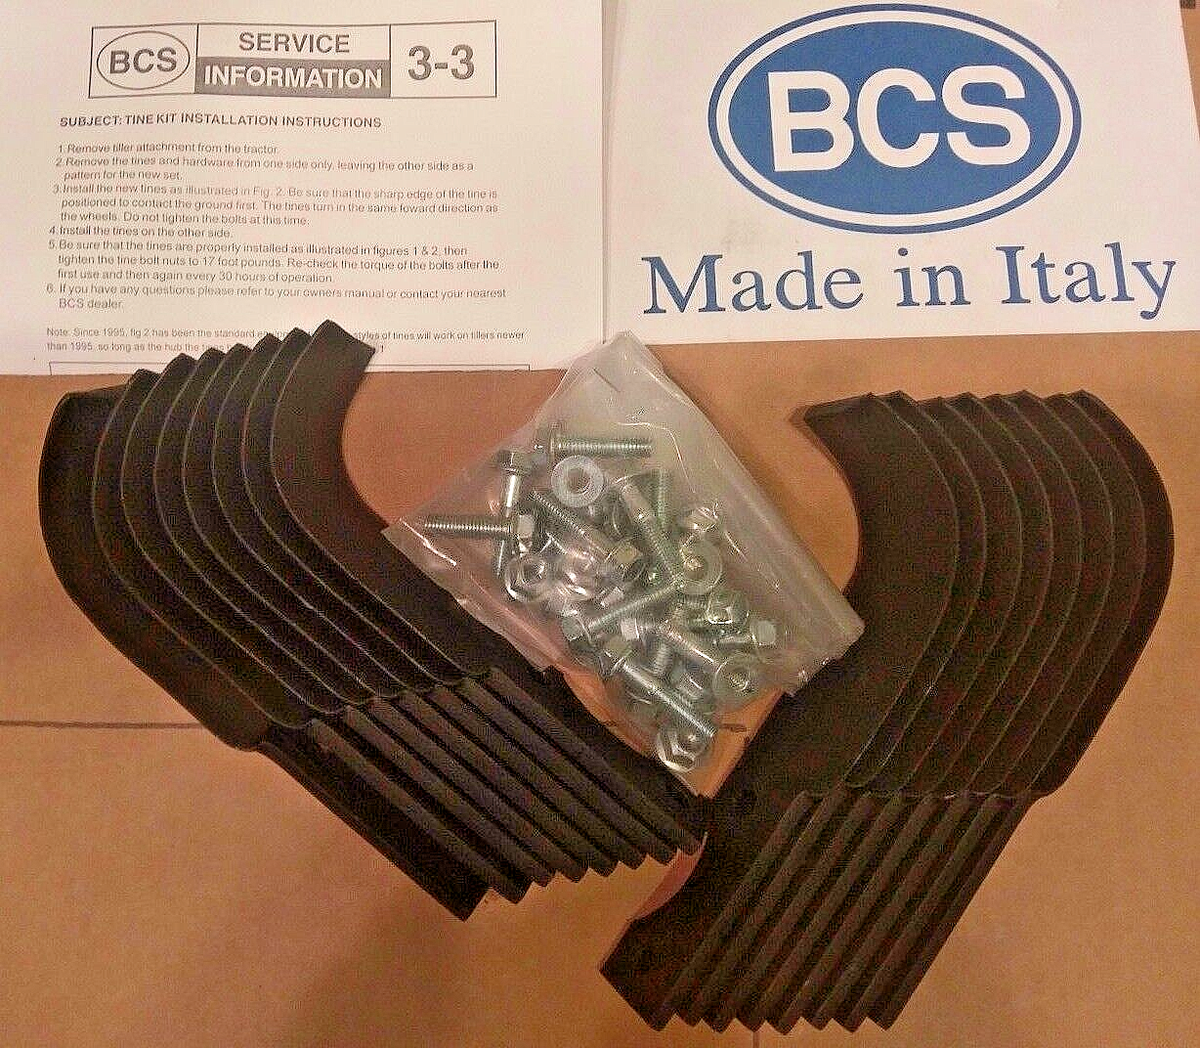
Install or replace tines and set the right orientation
Once you know how to remove tiller tines, putting them back is easy. The key is orientation and torque.
Orientation basics:
- Tines have a leading edge. It should cut into the soil in the direction of rotation.
- Most hubs and tines are stamped L or R. Match left to left, right to right.
- Keep spacers and washers in the same order you found them.
Install steps:
- Clean the hub bore and the shaft. Wipe dry.
- Apply a light coat of grease on the shaft spline or keyway.
- Seat the key in the keyway if used. Align the hub and slide it on straight.
- Install washers, pins, or bolts in the original order.
- Use new cotter pins. Do not reuse old ones.
Torque guidance:
- Follow your manual for torque. Typical ranges are 25 to 35 ft-lb for 3/8 inch bolts and 40 to 55 ft-lb for 7/16 inch bolts.
- Use thread locker only if the manual calls for it. Many hubs rely on lock washers or pins.
Final check:
- Spin the tine set by hand. It should turn true with no wobble.
- Refit shields. Remove the wood block. Reconnect power.

Source: youtube.com
Troubleshooting stuck or seized tines
Rust, clay, and time can lock tines to the shaft. Here is how to remove tiller tines when they refuse to budge.
What works for me:
- Soak with penetrating oil. Brush the joint. Reapply. Wait 10 to 20 minutes.
- Use a three-jaw puller. Add light pressure. Tap the hub, not the shaft.
- Heat the hub only, not the shaft, with a small torch. Use low heat and avoid seals.
- Shock the rust. Hold tension with the puller and tap around the hub.
- If nothing moves, cut the pin and remove the tine set as a unit. Work on a bench.
What to avoid:
- Do not pry against the seal housing.
- Do not pound on the shaft. You can mushroom the end and ruin the fit.
After removal:
- Dress small burrs with a fine file.
- Coat the shaft with anti-seize so next time is easy.

Source: wideworldofindoorsports.com
Maintenance tips to extend tine life
A few small habits will cut the time you spend learning how to remove tiller tines every season.
Simple habits:
- Rinse and dry tines after use. Wet dirt eats steel fast.
- Spray a light oil film before storage.
- Replace bent or cracked tines in sets so they stay balanced.
- Sharpen edges lightly with a file. Keep the factory shape.
- Inspect seals and gearcase for leaks. Oil on the tines can hint at a bad seal.
- Use new cotter pins and the right grade shear bolts. Grade 2 protects the gearbox.
Seasonal routine:
- Mid-season, check fasteners and play in the hub.
- Off-season, pull tines, clean the shaft, and re-grease. It takes 20 minutes and saves hours later.

Source: youtube.com
Cost, time, and when to call a pro
Planning ahead helps. Here is what to expect for time and money.
What most owners spend:
- Time: 30 to 60 minutes for both sides, if not seized.
- Parts: 10 to 20 dollars for pins and odds. 60 to 200 dollars for a full tine set.
- Tools: A puller costs 20 to 40 dollars and earns its keep fast.
Call a pro when:
- The shaft is bent or the hub is cracked.
- The gearbox leaks or the tine shaft has severe play.
- Heat is needed near seals and you are not set up for it.
You now know how to remove tiller tines like a tech. If you get stuck, do not force it. A short break and more penetrant often beats a big hammer.
Frequently Asked Questions of how to remove tiller tines
How often should I remove and inspect tines?
Check tines at least once a season. Heavy tilling in rocky soil may need mid-season checks.
What size wrenches do I need for most tillers?
Most use 1/2 inch to 3/4 inch or 13 to 19 mm. Measure your bolts to be sure.
How do I know tine rotation direction?
Look for an arrow on the shield or tine hub. The cutting edge leads into the soil in the rotation direction.
Do I need to replace both sides if one tine breaks?
Yes, replace in pairs or sets. It keeps balance and protects bearings.
Can I sharpen tiller tines?
Yes, file lightly to restore the edge. Do not change the shape or thin the blade too much.
What if the retaining nut will not loosen?
Check if it is left-hand thread. If it still will not move, soak with penetrant and use heat with care.
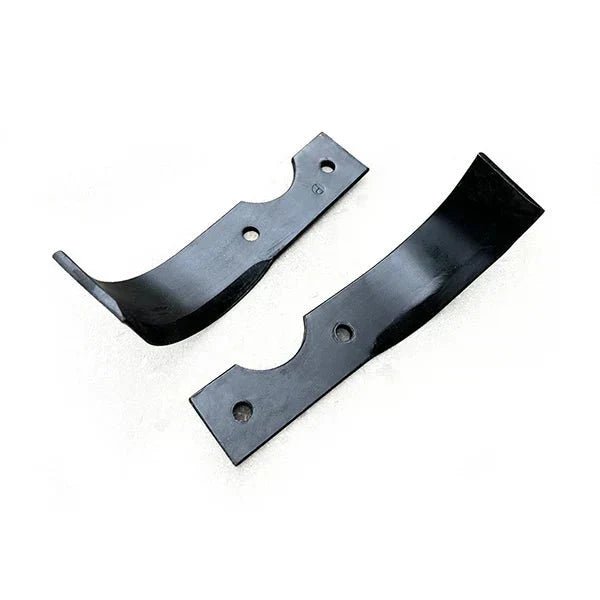
Is there a difference between bolo tines and slasher tines?
Yes, bolo tines dig deeper and mix soil well. Slasher tines cut lighter roots and leave a rougher finish.
Conclusion
With the right steps, how to remove tiller tines is quick, clean, and safe. Set your workspace, protect the machine, and keep parts in order. A little care now prevents seized hubs and broken bolts later.
Try these steps on your tiller this week. Take photos, label parts, and enjoy smooth soil work next season. Want more shop-tested tips like how to remove tiller tines, tune-ups, and storage guides? Subscribe, share this guide, or drop your questions in the comments.