
Start the engine, set depth, walk slowly, and overlap steady passes.
You want clear steps on how to use a rear tine tiller without struggle or guesswork. I have used these machines for years in lawns, gardens, and clay soil. This guide shows how to use a rear tine tiller the right way, with real tips, simple steps, and mistakes to avoid. Stick with me, and you will be ready to till like a pro.

What a rear tine tiller does and why it matters
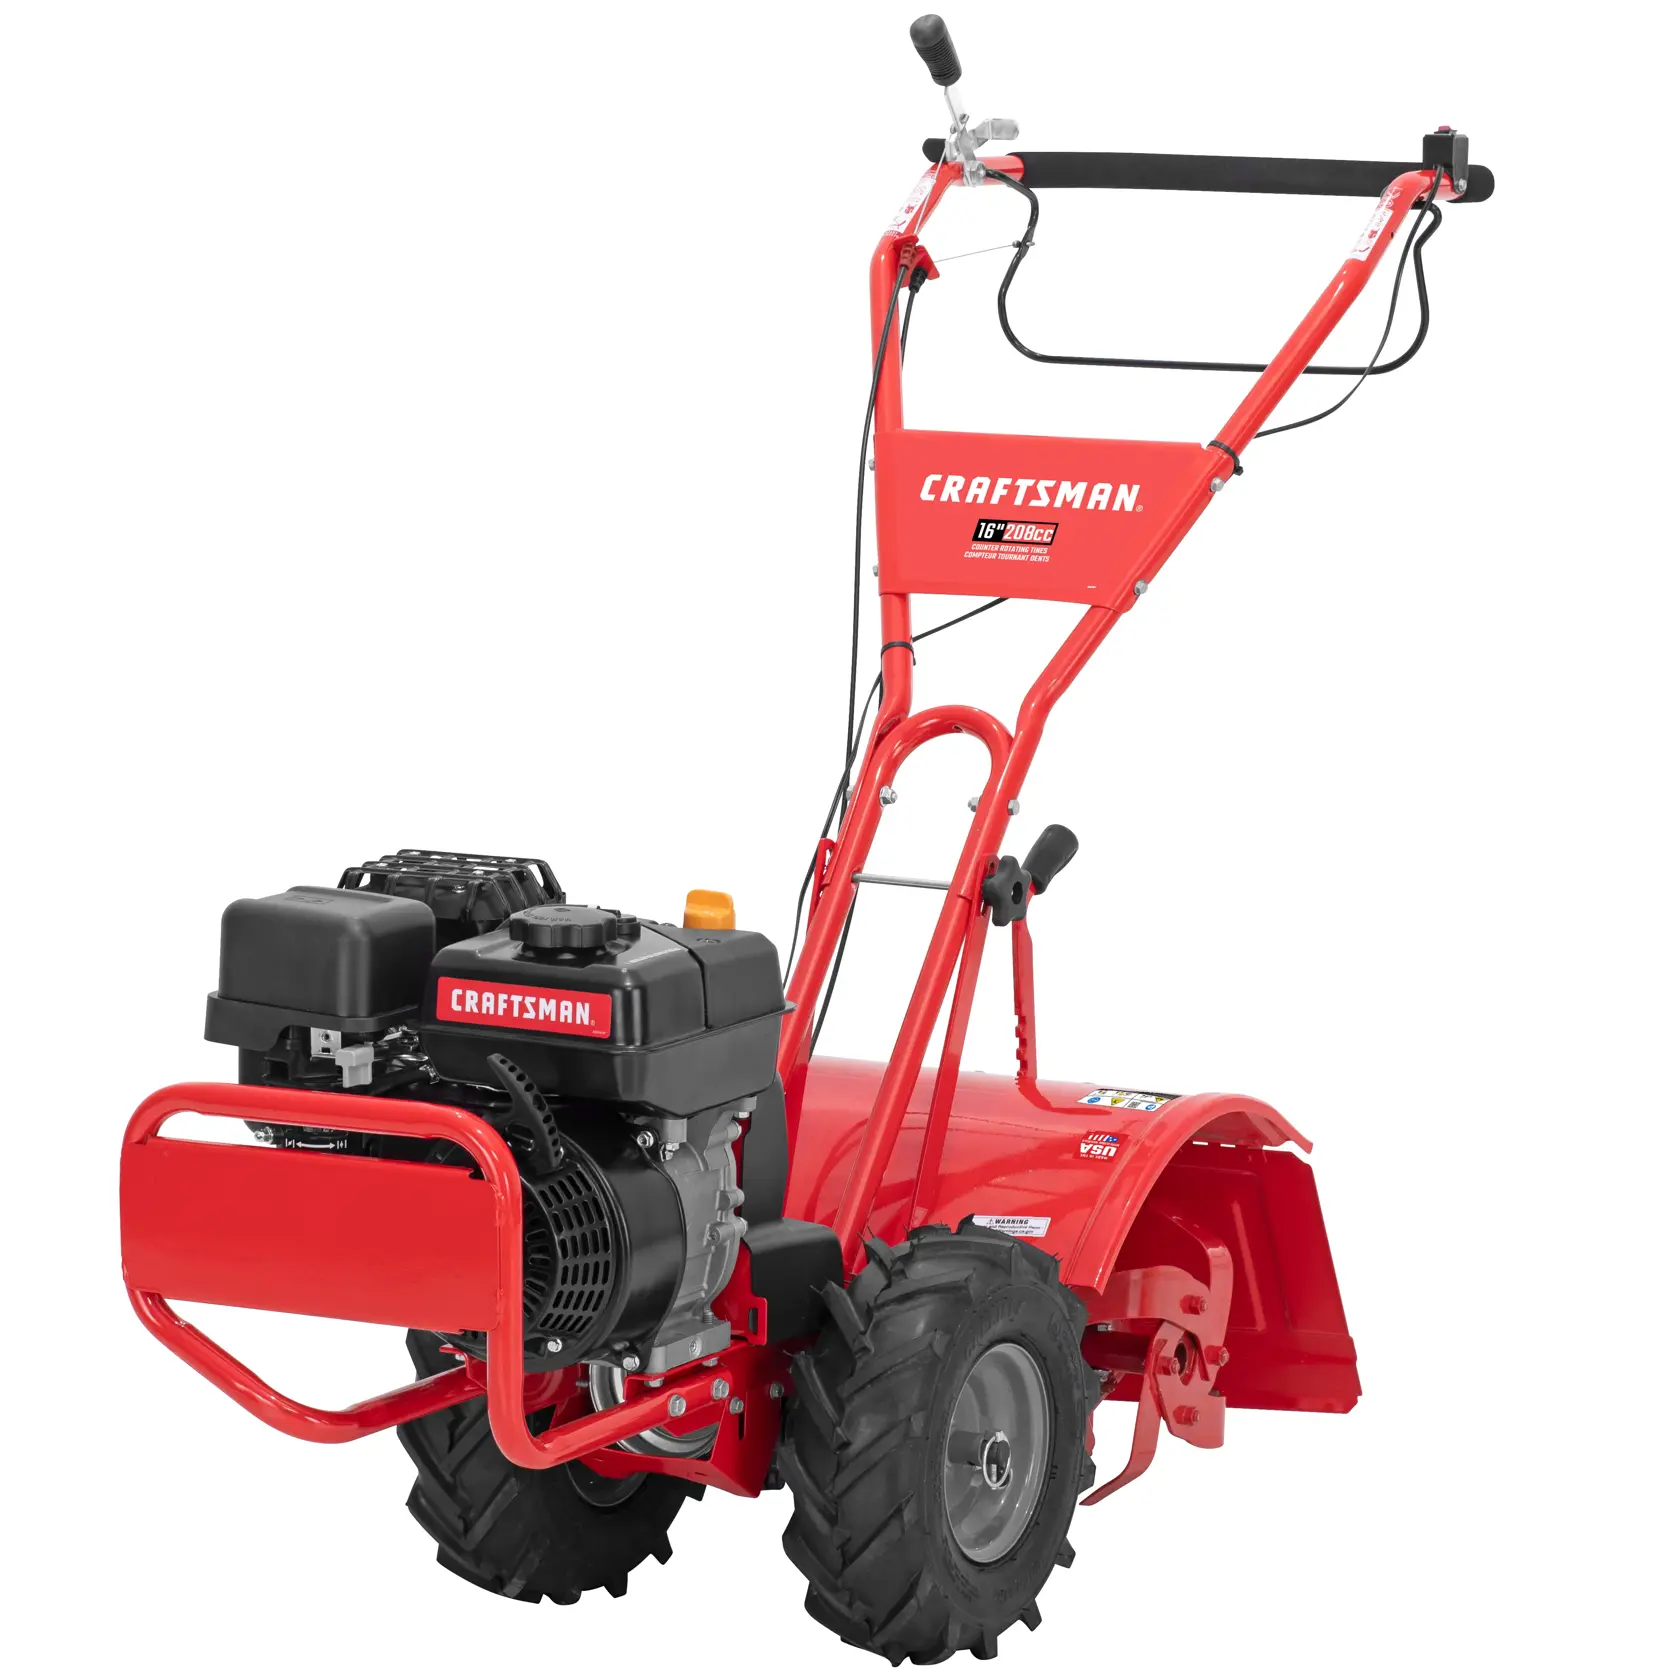
A rear tine tiller cuts and turns soil using blades behind the wheels. The wheels drive forward while the tines chop and mix. This setup gives better traction and control than front tine models. It is great for new beds, heavy soil, and large plots.
If you need to learn how to use a rear tine tiller, start with the basics. Know your machine type. Some have forward-rotating tines. Others have counter-rotating tines. Some have both. This affects how you handle tough ground and deep passes.
Use the machine to loosen compact soil, blend compost, and prepare rows. Done well, it saves hours of shovel work and gives roots a soft home.

Safety and prep checklist
Good tilling starts with a safe setup. Before you focus on how to use a rear tine tiller, make sure your site and machine are ready.
Gear up
- Wear boots with good tread.
- Use eye and ear protection.
- Wear snug clothes and gloves.
Check the area
- Call 811 to mark utilities before deep work.
- Flag sprinklers and buried lines.
- Remove rocks, wire, and large roots.
- Keep kids and pets away.
Check the machine
- Confirm oil, fuel, and tire pressure.
- Inspect belts, tines, and guards.
- Set the depth stake to a shallow start.
- Test the throttle, drive, and tine lever.
Check the soil
- Do the squeeze test. Soil should crumble, not smear.
- Avoid saturated soil. Wait 24 to 48 hours after heavy rain.
- Water very dry ground the day before to reduce dust.
Step-by-step: how to use a rear tine tiller
If you want a simple plan for how to use a rear tine tiller, follow these steps. Keep passes slow. Let the machine work.
Start and warm up
- Move to level ground.
- Fuel on. Choke on if cold. Start the engine.
- Warm up for one to two minutes.
Set depth and speed
- Begin shallow at about 2 inches.
- Choose low gear for control.
- Set tines off until you get in position.
First pass
- Engage drive and walk forward.
- Engage tines. Keep your grip light.
- Do not fight the machine. Guide it.
- Overlap each pass by 3 to 4 inches.
Second pass, deeper
- Increase depth to 4 to 6 inches.
- Cross the first set of lines at 90 degrees.
- Add compost or amendments now and mix them in.
Edge cleanup and leveling
- Use a rake to level high spots.
- Make one light finish pass if needed.
- Aim for a fluffy, crumbly bed.
Shut down
- Turn off tines first.
- Shift to neutral. Idle 30 seconds.
- Shut off. Let it cool before moving or storing.
Pro tip from the field: On tough clay, I make three light passes instead of one deep pass. The machine does not jump. The soil breaks better. The result is cleaner.
:strip_icc()/bhg-champion-counter-rotating-gas-rear-tine-tiller-kathy-barnes-14-4987f1726c0e41a79005652674144d8c.jpeg)
Tilling patterns and techniques that work
Pattern matters. It controls the finish and your energy use. This is a key part of how to use a rear tine tiller with less strain.
For new ground
- Strip off sod in rolls if thick. Or till shallow, rake thatch, then till again.
- Use counter-rotating tines if you have them. They bite hard.
For garden refresh
- One to two passes at 3 to 4 inches is often enough.
- Add compost first. Blend during the second pass.
For slopes
- Work across the slope, not straight up or down.
- Keep a wide stance and short steps.
For weeds
- Till when weeds are small and dry.
- Use slow speed so roots break, not wrap.
For hard spots
- Drop depth to the minimum.
- Make more passes until the soil loosens.
Adjustments: depth, speed, and tine direction
Learning how to use a rear tine tiller also means learning the controls. Small changes can make a big difference.
Depth
- Shallow first. Then go deeper.
- Most gardens thrive at 4 to 6 inches.
- Avoid deep tilling near tree roots or drip lines.
Speed
- Low gear gives better bite and mix.
- Use a steady walking pace.
- More throttle helps in dense soil but watch control.
Tine direction
- Forward-rotating tines are smoother. Good for medium soil and finishing.
- Counter-rotating tines dig harder. Good for sod and clay.
- Dual-rotating models let you switch. Use the lightest setting that works.
Handle height and balance
- Set handles at your hip. This reduces arm strain.
- Lift slightly to reduce digging. Press down to dig more.

Troubleshooting and common mistakes
Even with a good plan on how to use a rear tine tiller, stuff happens. Here is how I fix the most common issues.
Machine jumps or bucks
- Soil is too hard or deep. Raise the depth and slow down.
- Make more shallow passes.
Tines clog with vines or wet grass
- Stop the engine. Clear debris with a stick, not hands.
- Till when plant matter is dry.
Engine bogs down
- Reduce depth and speed.
- Check air filter and fuel. Clean as needed.
Uneven tilling
- Overlap more on each pass.
- Cross till at 90 degrees.
Drifts off line
- Watch a point ahead, not the tines.
- Use light pressure on the handles to steer.
Soil turns to powder
- You are overtilling. Reduce passes.
- Add compost and water lightly after.
Aftercare and maintenance
Good care keeps the tiller ready for the next job. This is part of knowing how to use a rear tine tiller the right way.
Right after use
- Idle down before shutoff.
- Brush off soil. Rinse only if needed. Dry metal parts.
- Spray a light oil on tines to prevent rust.
Routine checks
- Check engine oil often. Change about every 25 hours.
- Clean or replace the air filter.
- Inspect belts, cables, and tine pins.
- Sharpen or replace tines when edges round off.
Storage
- Drain or stabilize fuel if storing more than a month.
- Park in a dry spot. Cover it.
- Keep tires at the right pressure.
Real-world tips and pro hacks
Here are lessons I learned while teaching people how to use a rear tine tiller in real jobs and tight timelines.
- Mark your first line with a string. The rest stay straight and clean.
- Do a test strip. Adjust depth before you commit to the whole plot.
- Add compost before the second pass. Mix is better and faster.
- Take breaks. Grip fatigue leads to poor control.
- Keep a small rake with you. Kick out big clumps as you go.
- Work in the cool of the day. Engines and people perform better.
Soil health and environmental best practices
Tilling is powerful. Used wrong, it can harm soil life. A smart plan helps keep soil healthy while you learn how to use a rear tine tiller well.
- Do not till when soil is very wet. It causes clods and compaction.
- Do not till deeper than needed. Protects worms and structure.
- Add 1 to 2 inches of compost and mix lightly.
- Use mulch after planting to reduce weeds and hold moisture.
- Consider no-till or broadfork in later seasons to maintain structure.
Frequently Asked Questions of how to use a rear tine tiller
What size rear tine tiller do I need?
For small gardens, 14 to 18 inches wide is enough. For big plots or new ground, 20 inches or more saves time.
How deep should I till for vegetables?
Most beds do well at 4 to 6 inches. Root crops may need a bit deeper if the soil is not compact.
Can I till wet soil?
Avoid it. Wet soil smears and compacts, which hurts roots and drains poorly.
Which is better: forward or counter-rotating tines?
Forward tines are smoother for light soil. Counter-rotating tines bite better in sod and clay.
How often should I till a garden?
Till to set up beds or add amendments. After that, minimize tilling to protect soil life and structure.
Can I till in rocks and roots?
Remove large rocks and thick roots first. Small stones are okay, but go slow to avoid damage.
How do I keep the tiller from pulling me?
Use low gear, shallow depth, and short steps. Let the machine work while you guide it.
Conclusion
You now know how to use a rear tine tiller with control and confidence. Start shallow, make clean passes, and adjust depth as the soil loosens. Add compost, avoid wet days, and keep the machine in top shape.
Your next step is simple. Mark your first pass, fire up the tiller, and try one test strip. Want more practical guides like this? Subscribe for updates, ask a question, or share your results.