
Mark your layout, dig straight, clear spoil, check depth, and keep holes plumb.
If you want rock-solid fences, decks, or mailboxes, mastering how to use a post hole digger is a must. I’ve dug hundreds of holes in clay, sand, and rocky soil. In this guide, I’ll show you how to use a post hole digger with pro tips, safety rules, and simple steps that work in real yards under real conditions. Stick with me, and you’ll dig cleaner, faster, and safer.
What a Post Hole Digger Does and When to Use One
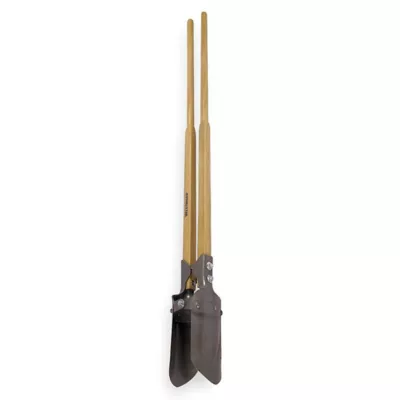
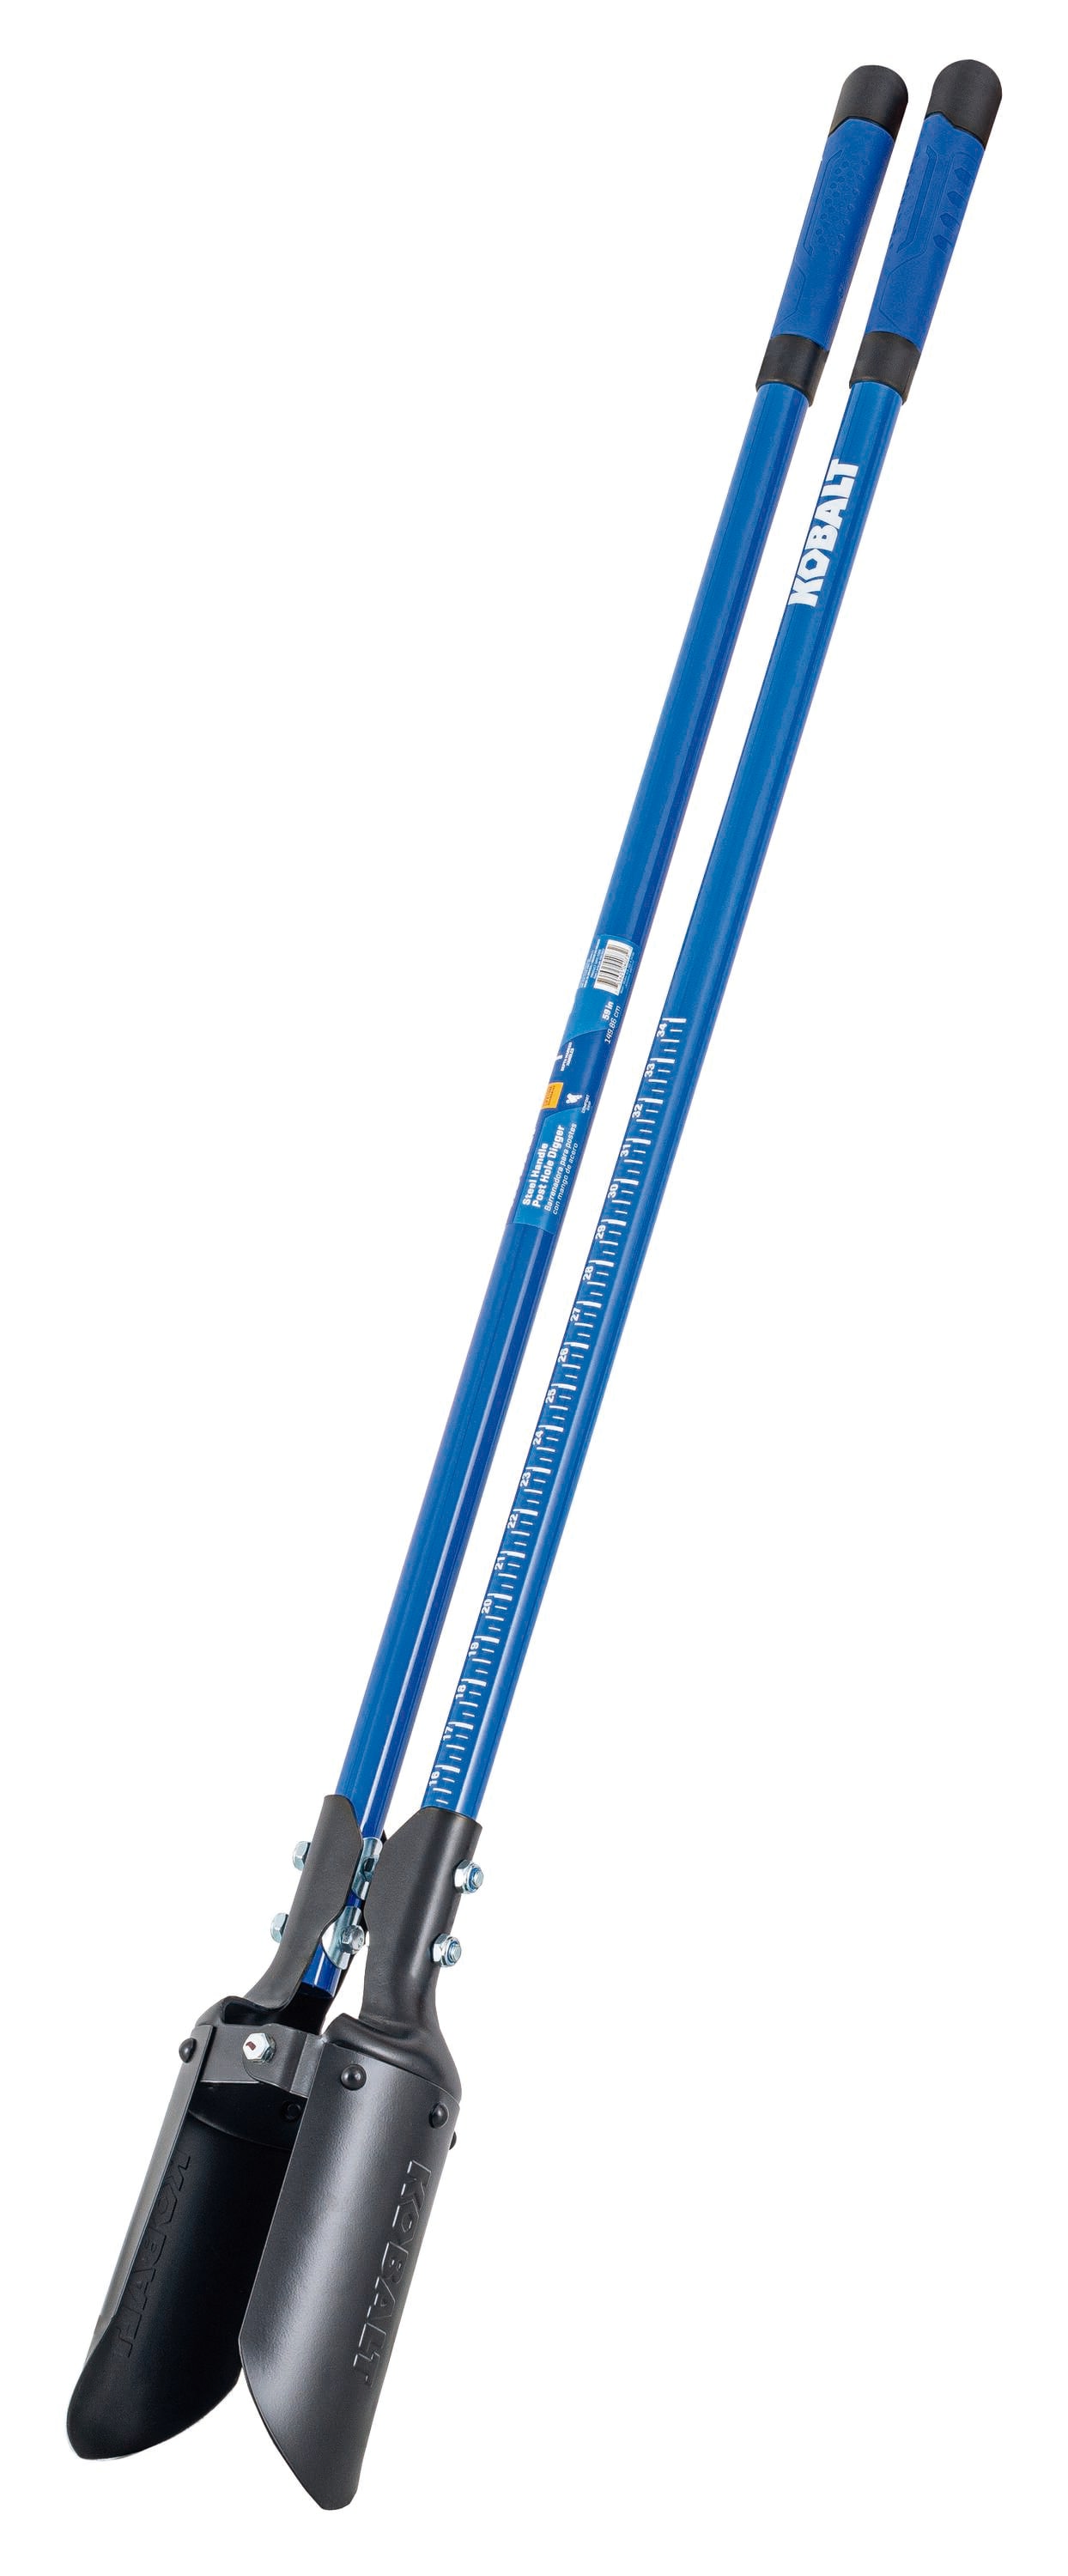
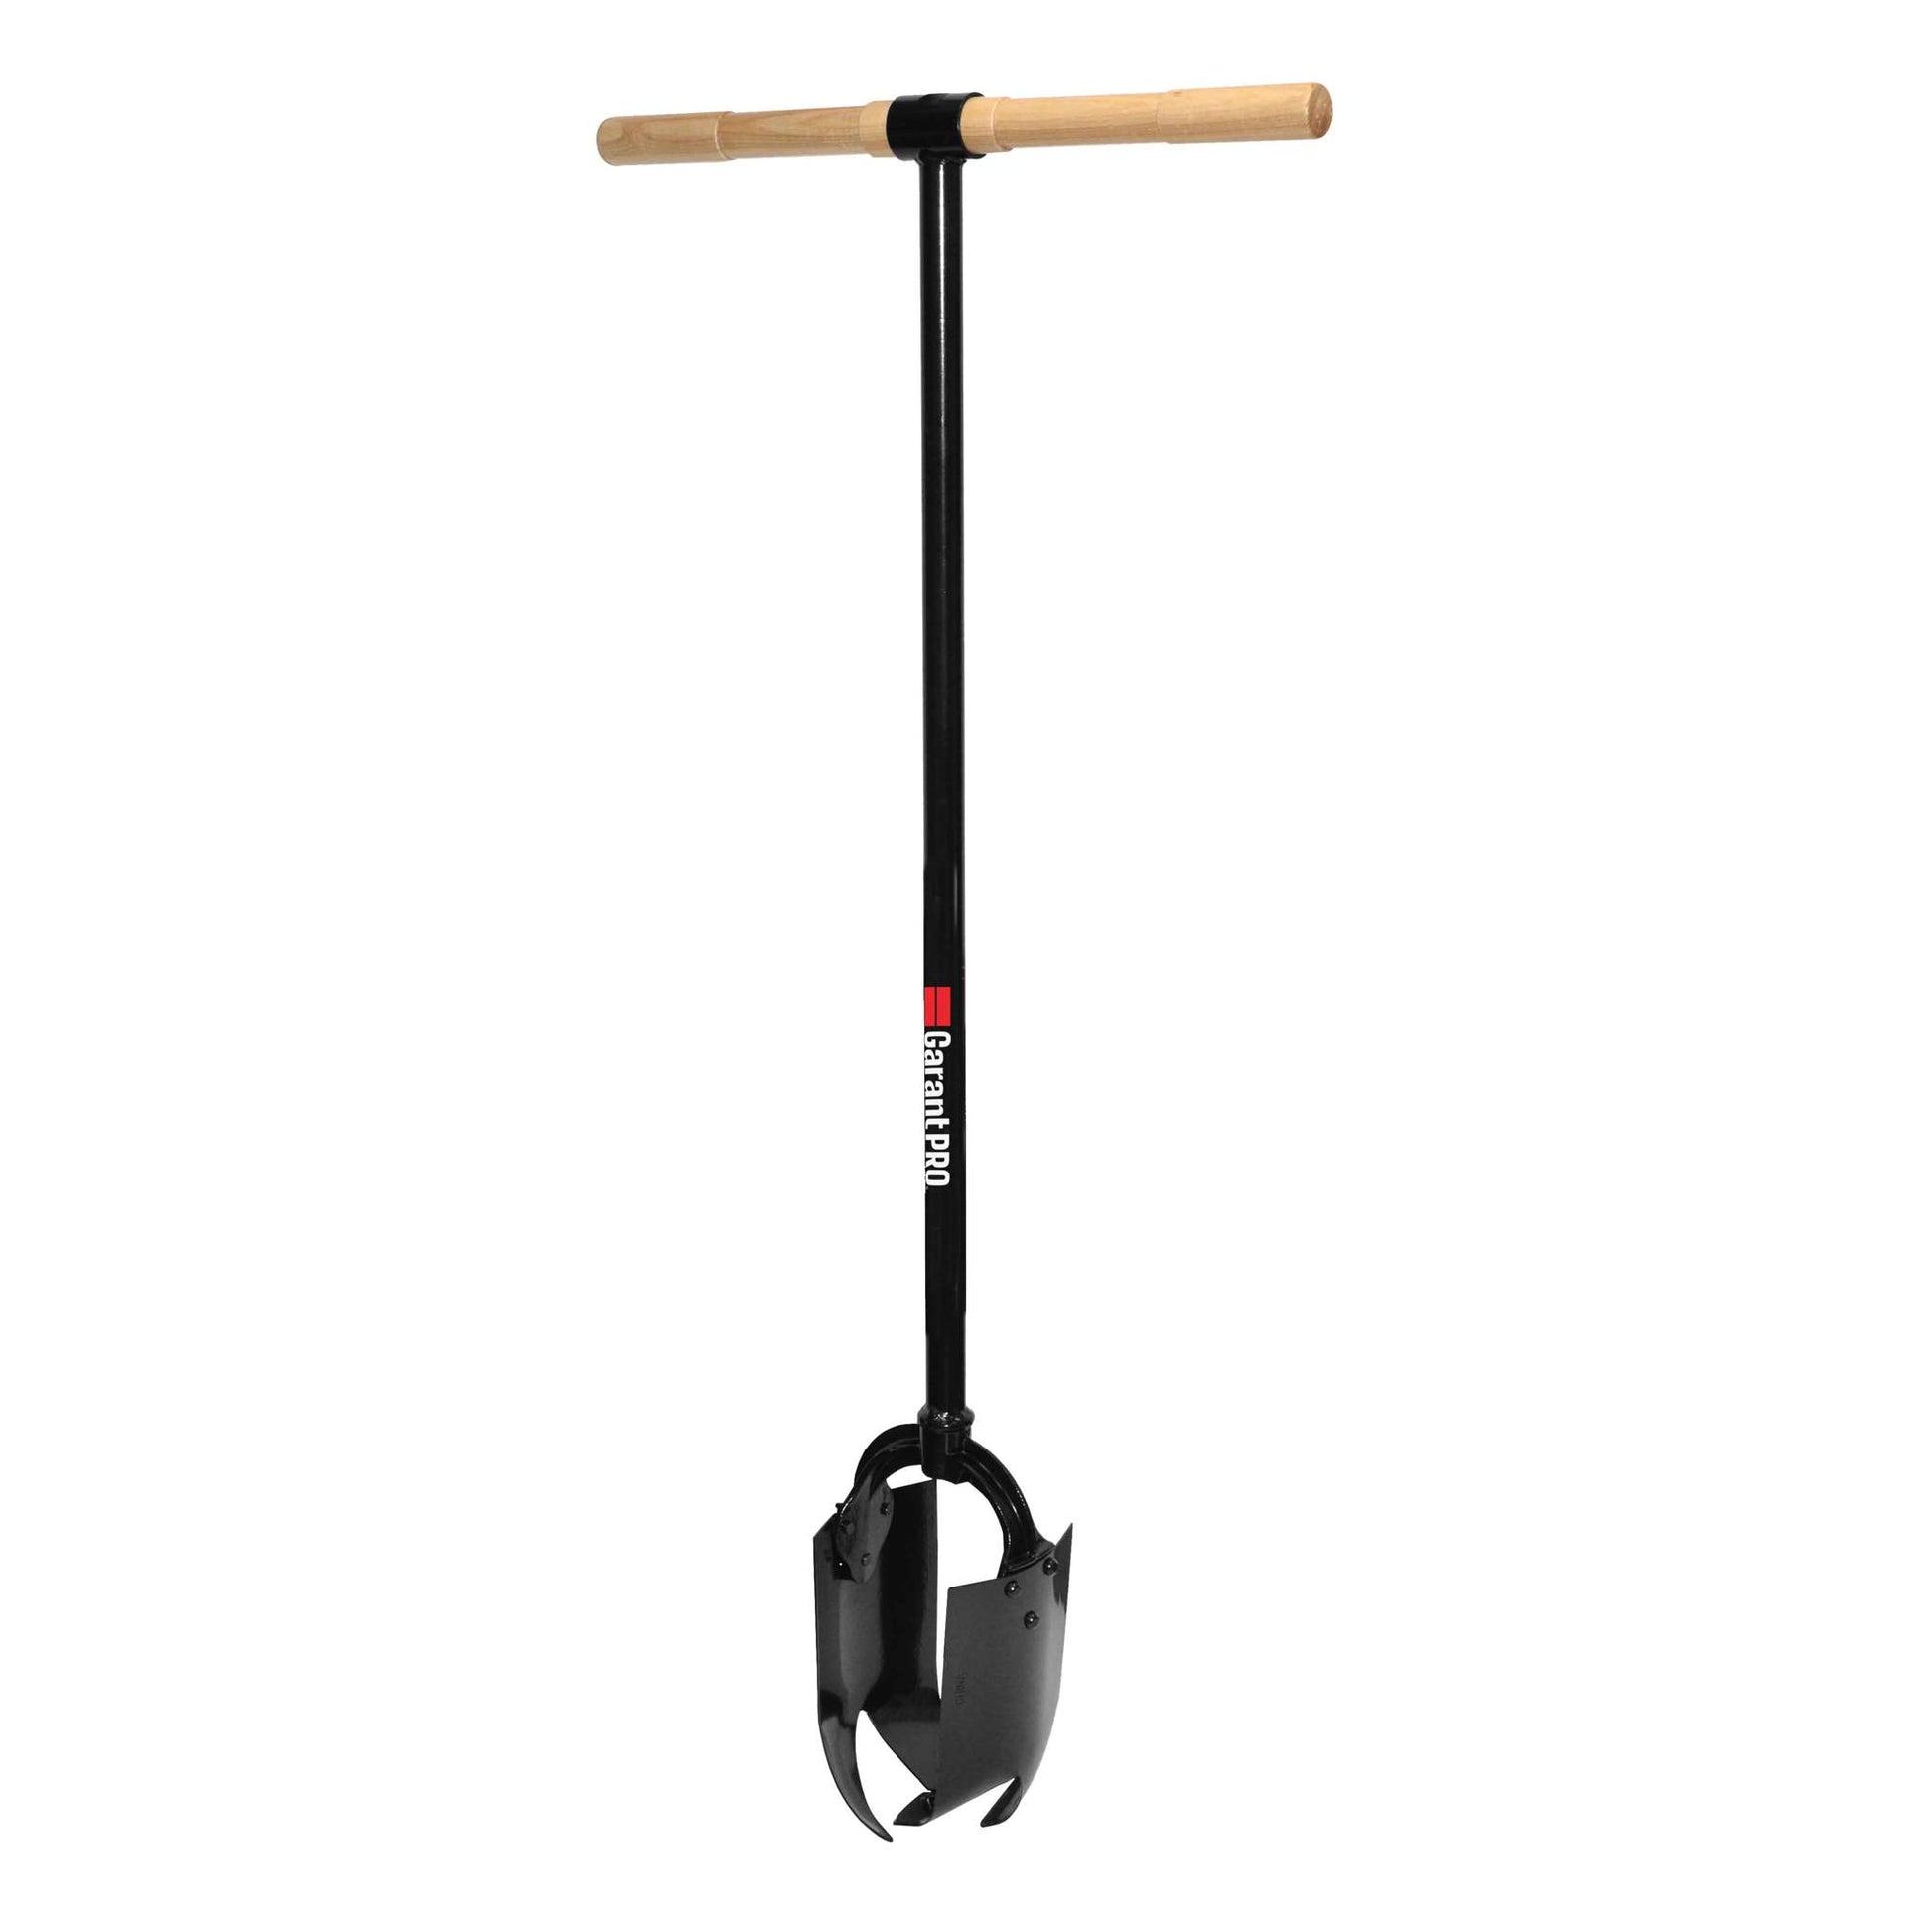
A post hole digger makes deep, narrow holes for posts. It helps you dig with less mess and keeps the hole round. You can use a manual clamshell digger, a manual auger, or a power auger.
Manual diggers are great for small jobs and tight spots. A power auger shines for many holes or hard soil. Many people ask how to use a post hole digger for fences and decks. The steps are simple, and the goal is the same: straight, clean, and to-depth holes.
Use a manual digger when you need control near utilities or roots. Use a two-person auger for speed if the soil allows.

Safety First: Prep, Permits, and Utilities
Before you learn how to use a post hole digger, set safety first. Call 811 to locate utilities at least a few days before you dig. Mark gas, power, water, and data lines. It’s the law in most states.
Wear PPE. Use safety glasses, gloves, boots, and hearing protection for power augers. Check local codes and HOA rules. Many areas require posts set below the frost line. Do not dig in high heat without water breaks.
If you feel a hard stop that is not a rock, stop. Check for utilities. Do not force the tool.
Tools and Materials Checklist
You do not need much to dig like a pro. Here is a simple kit I keep ready.
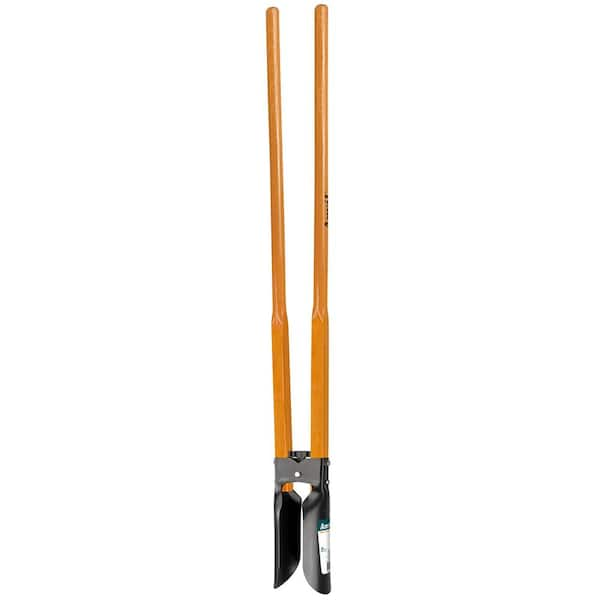
- Post hole digger: manual clamshell or manual auger
- Power auger: gas or electric, with sharp bit
- Measuring tape and marking paint
- String line, stakes, and a line level
- Post level or torpedo level
- Shovel and trenching shovel
- Digging bar or tamping bar
- Gravel for drainage
- Concrete mix if setting in concrete
- Water, buckets, and a wheelbarrow
- PPE: gloves, glasses, boots, hearing protection
Planning Your Layout and Hole Specs
The plan guides the dig. Stretch a string line where the fence or deck will run. Mark post centers with paint. Measure twice to avoid extra holes.
Depth and width matter. A common rule is one-third of the post length in the ground. Go deeper in high wind zones and always below the frost line. For a 4×4 post, a hole 10 to 12 inches wide works well. Add 6 inches of gravel at the bottom for drainage.
If you plan gates, dig wider and deeper. Gates add weight and force. A little extra now saves headaches later.
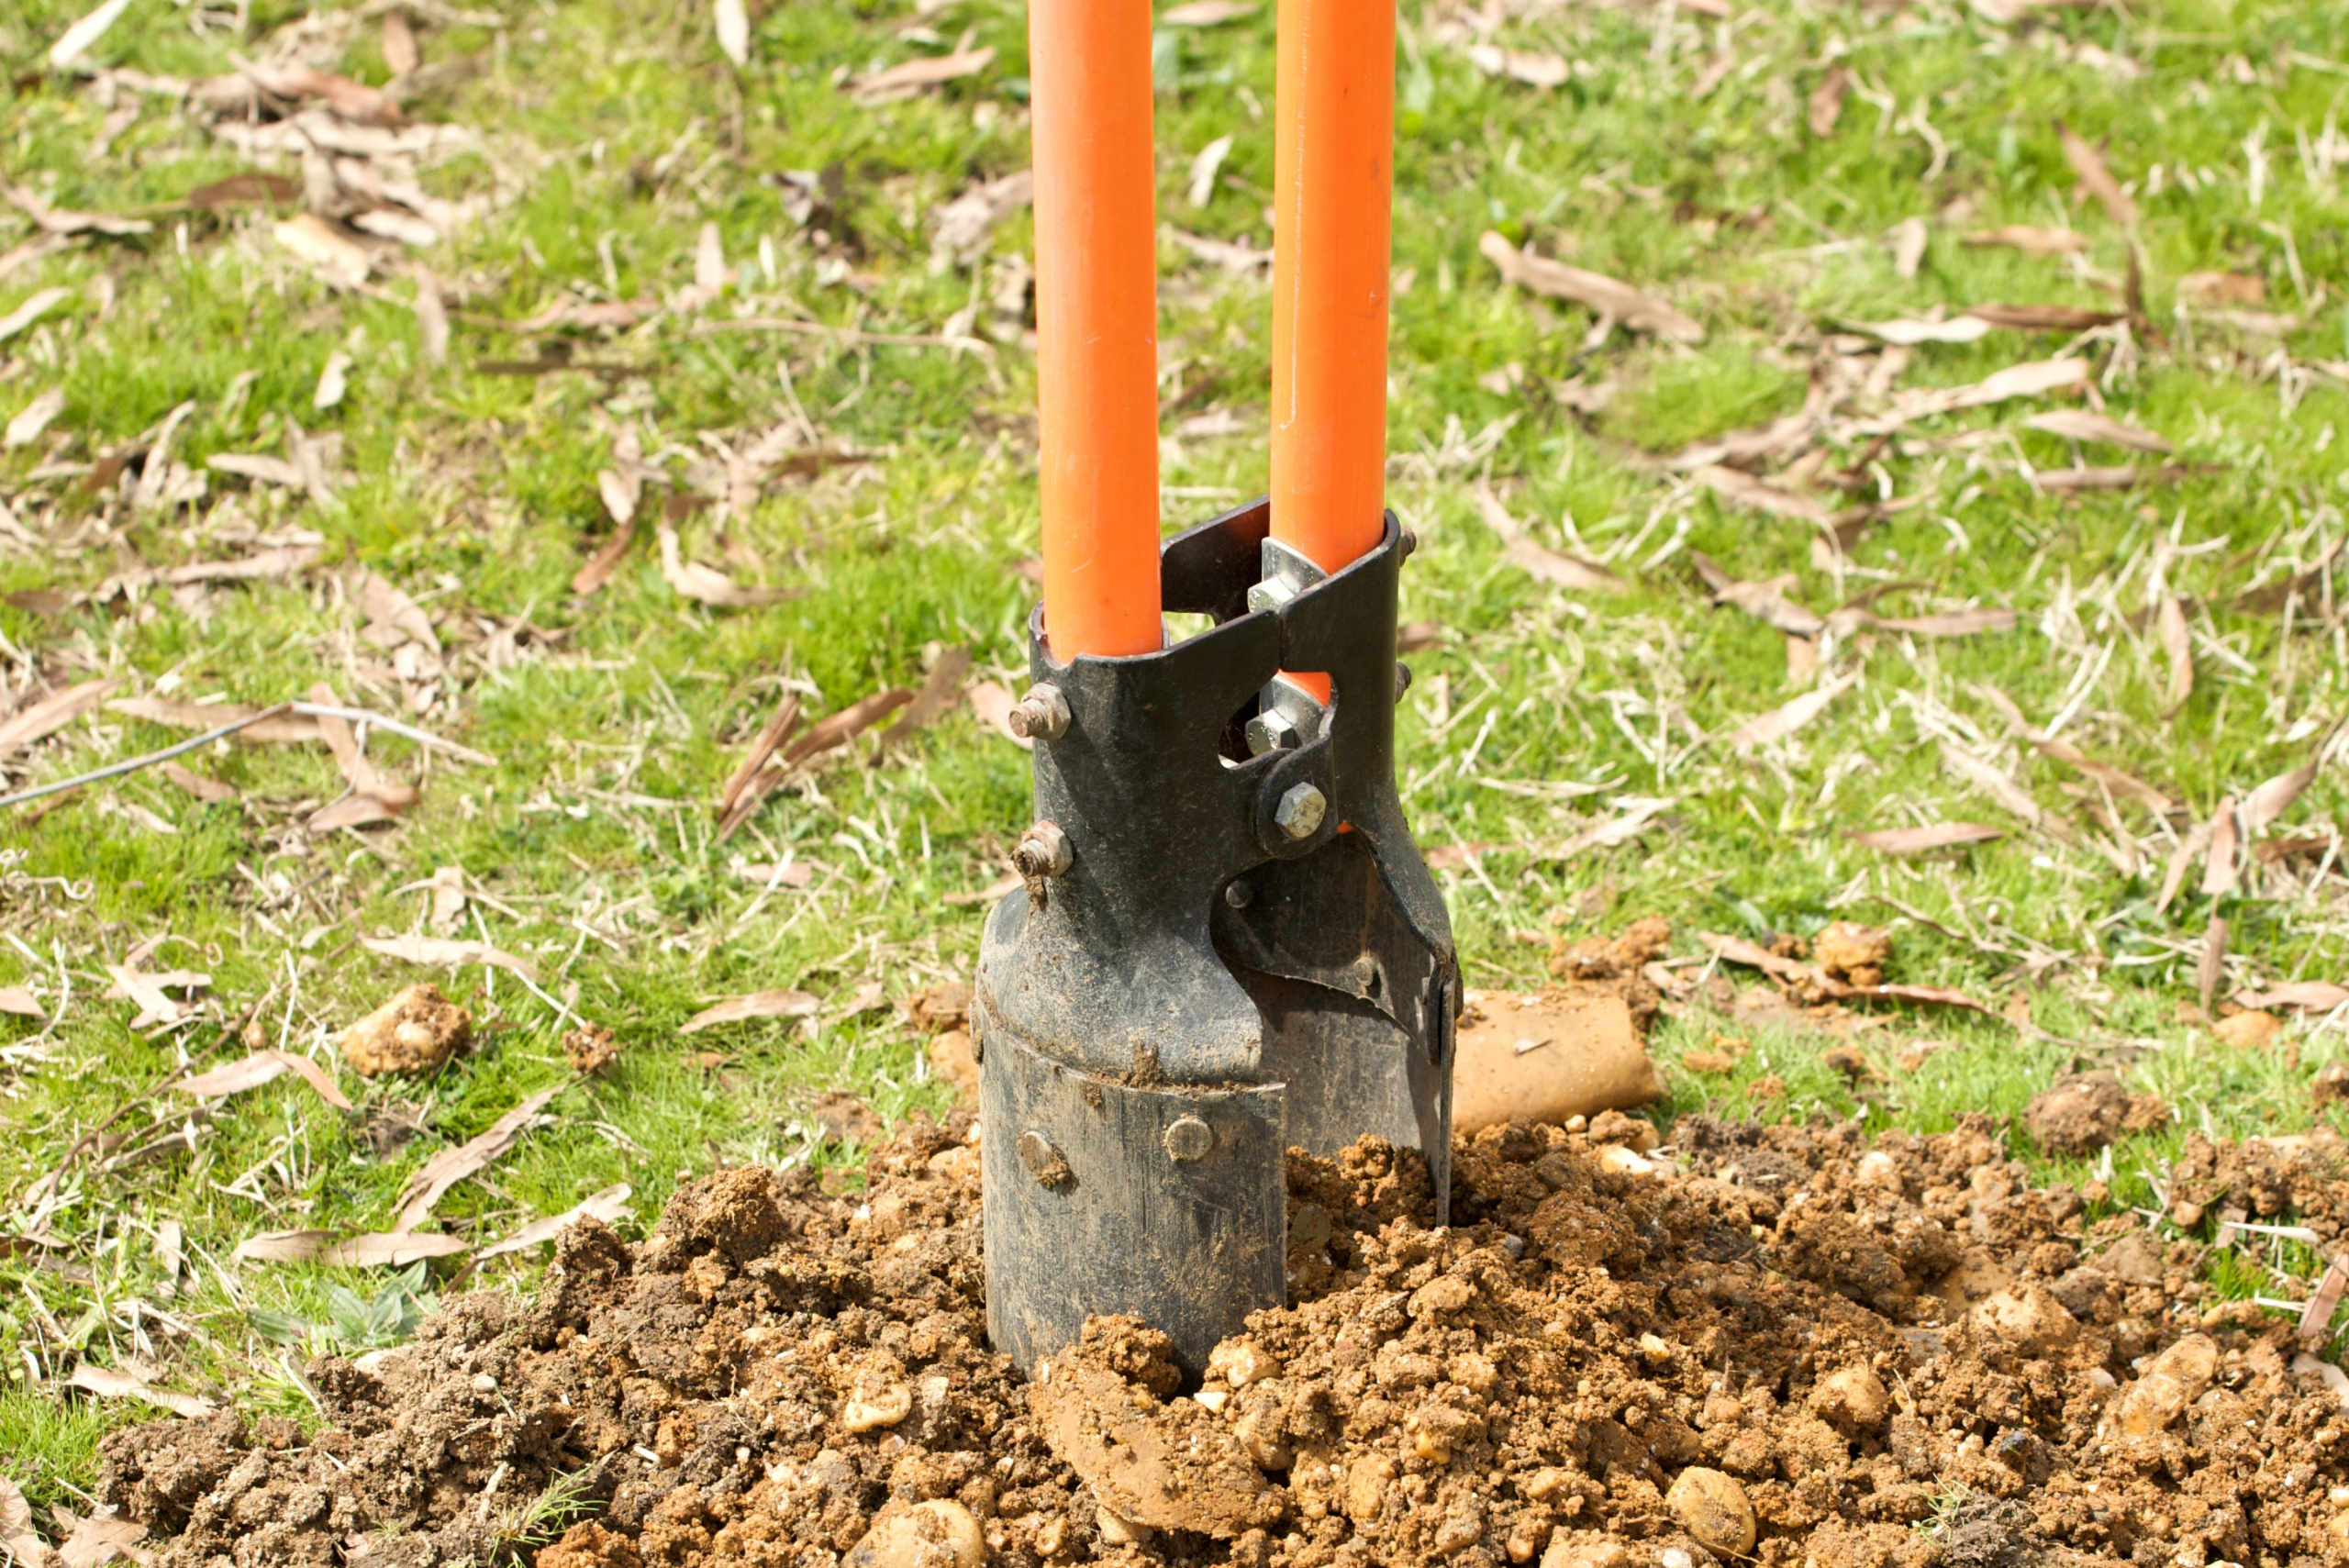
Step-by-Step: How to Use a Post Hole Digger by Hand
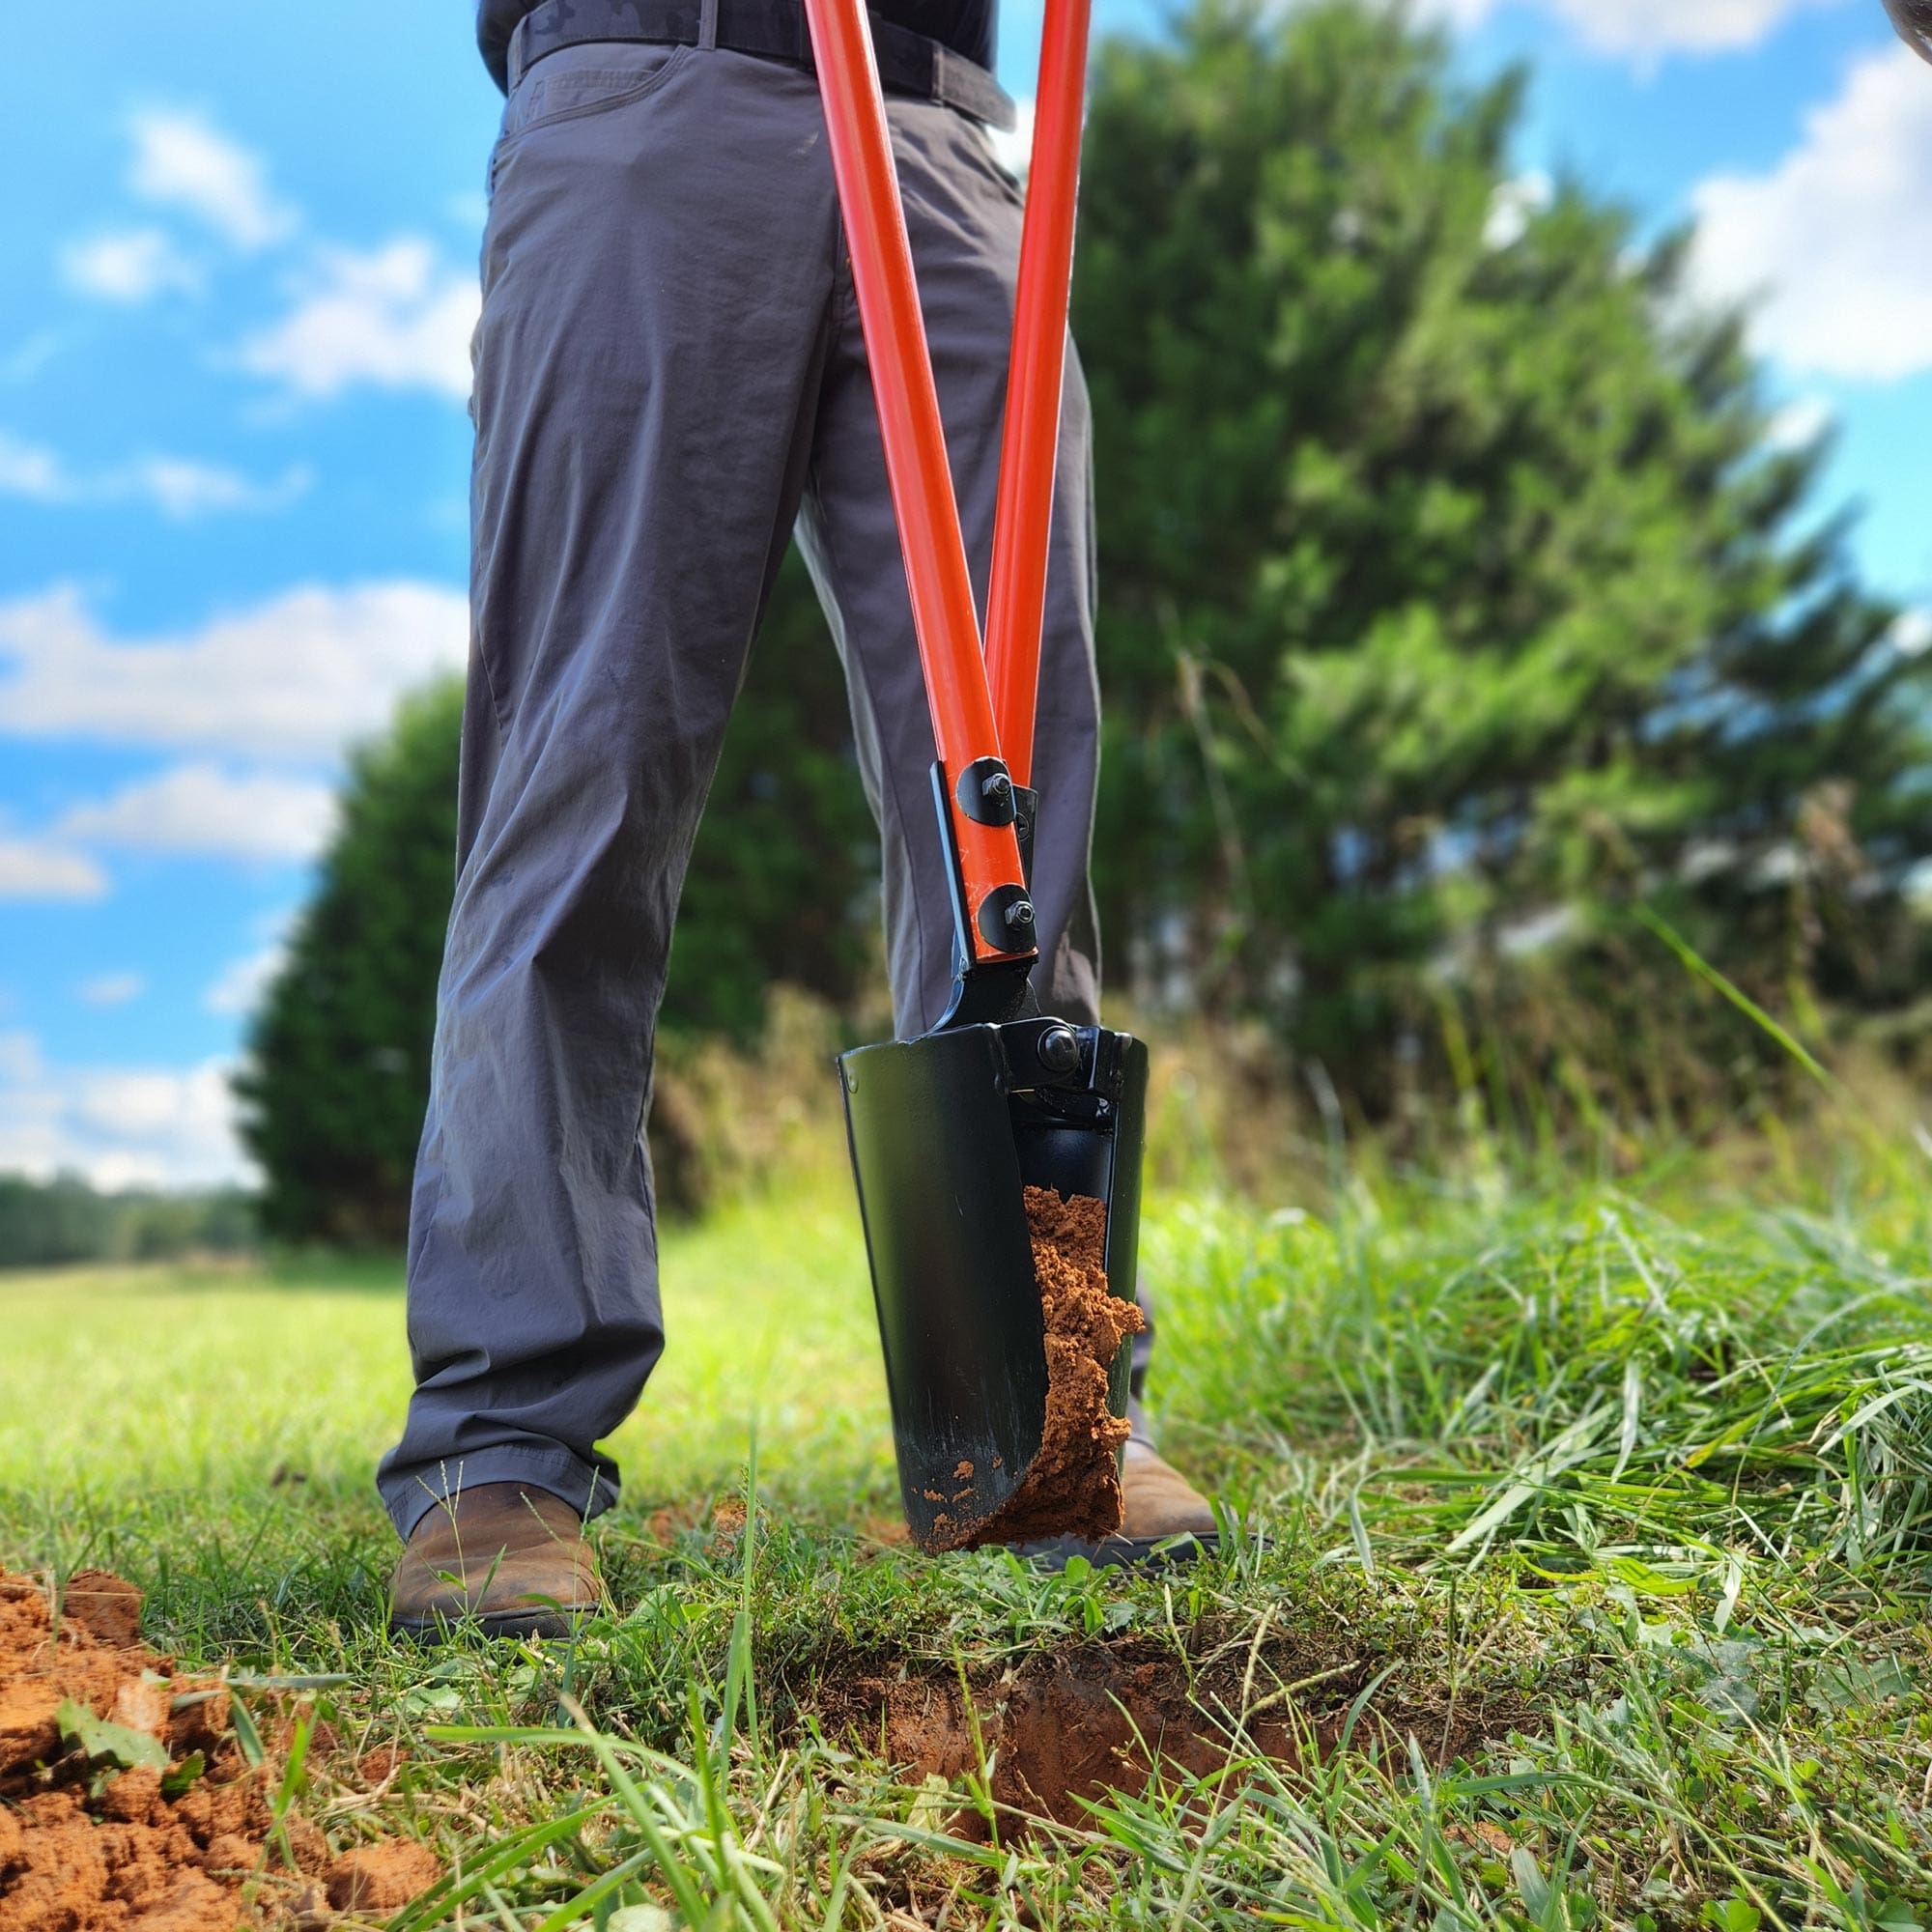
If you want exact control, hand tools win. Here is how to use a post hole digger with a manual clamshell.
- Mark the hole center. Spray a circle a bit larger than your goal width.
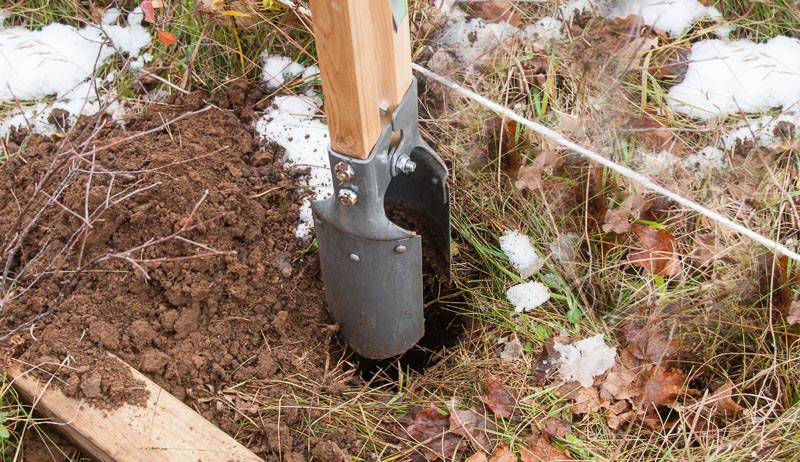
- Break the crust. Use a shovel or bar to cut sod and loosen topsoil.
- Drive the blades. Open the digger, drop it straight, and close to grab soil.
- Lift and dump. Keep dumping spoil to one side. This keeps your area clear.
- Keep the hole plumb. Check the sides. Adjust your bite to stay vertical.
- Check depth often. Aim for design depth plus 6 inches for gravel base.
- Widen only as needed. Trim the side walls with the digger or bar.
- Add gravel. Pour 6 inches for drainage and tamp flat.
- Test with your post. Set a post, check plumb, and refine the hole if needed.
If soil is hard, add water to the top inch and wait 10 minutes. Do not soak the full hole. That can cause collapse. If you hit roots, slice with a sharp spade or saw. A steady pace is better than brute force.
This is the best way to learn how to use a post hole digger for clean, straight results.
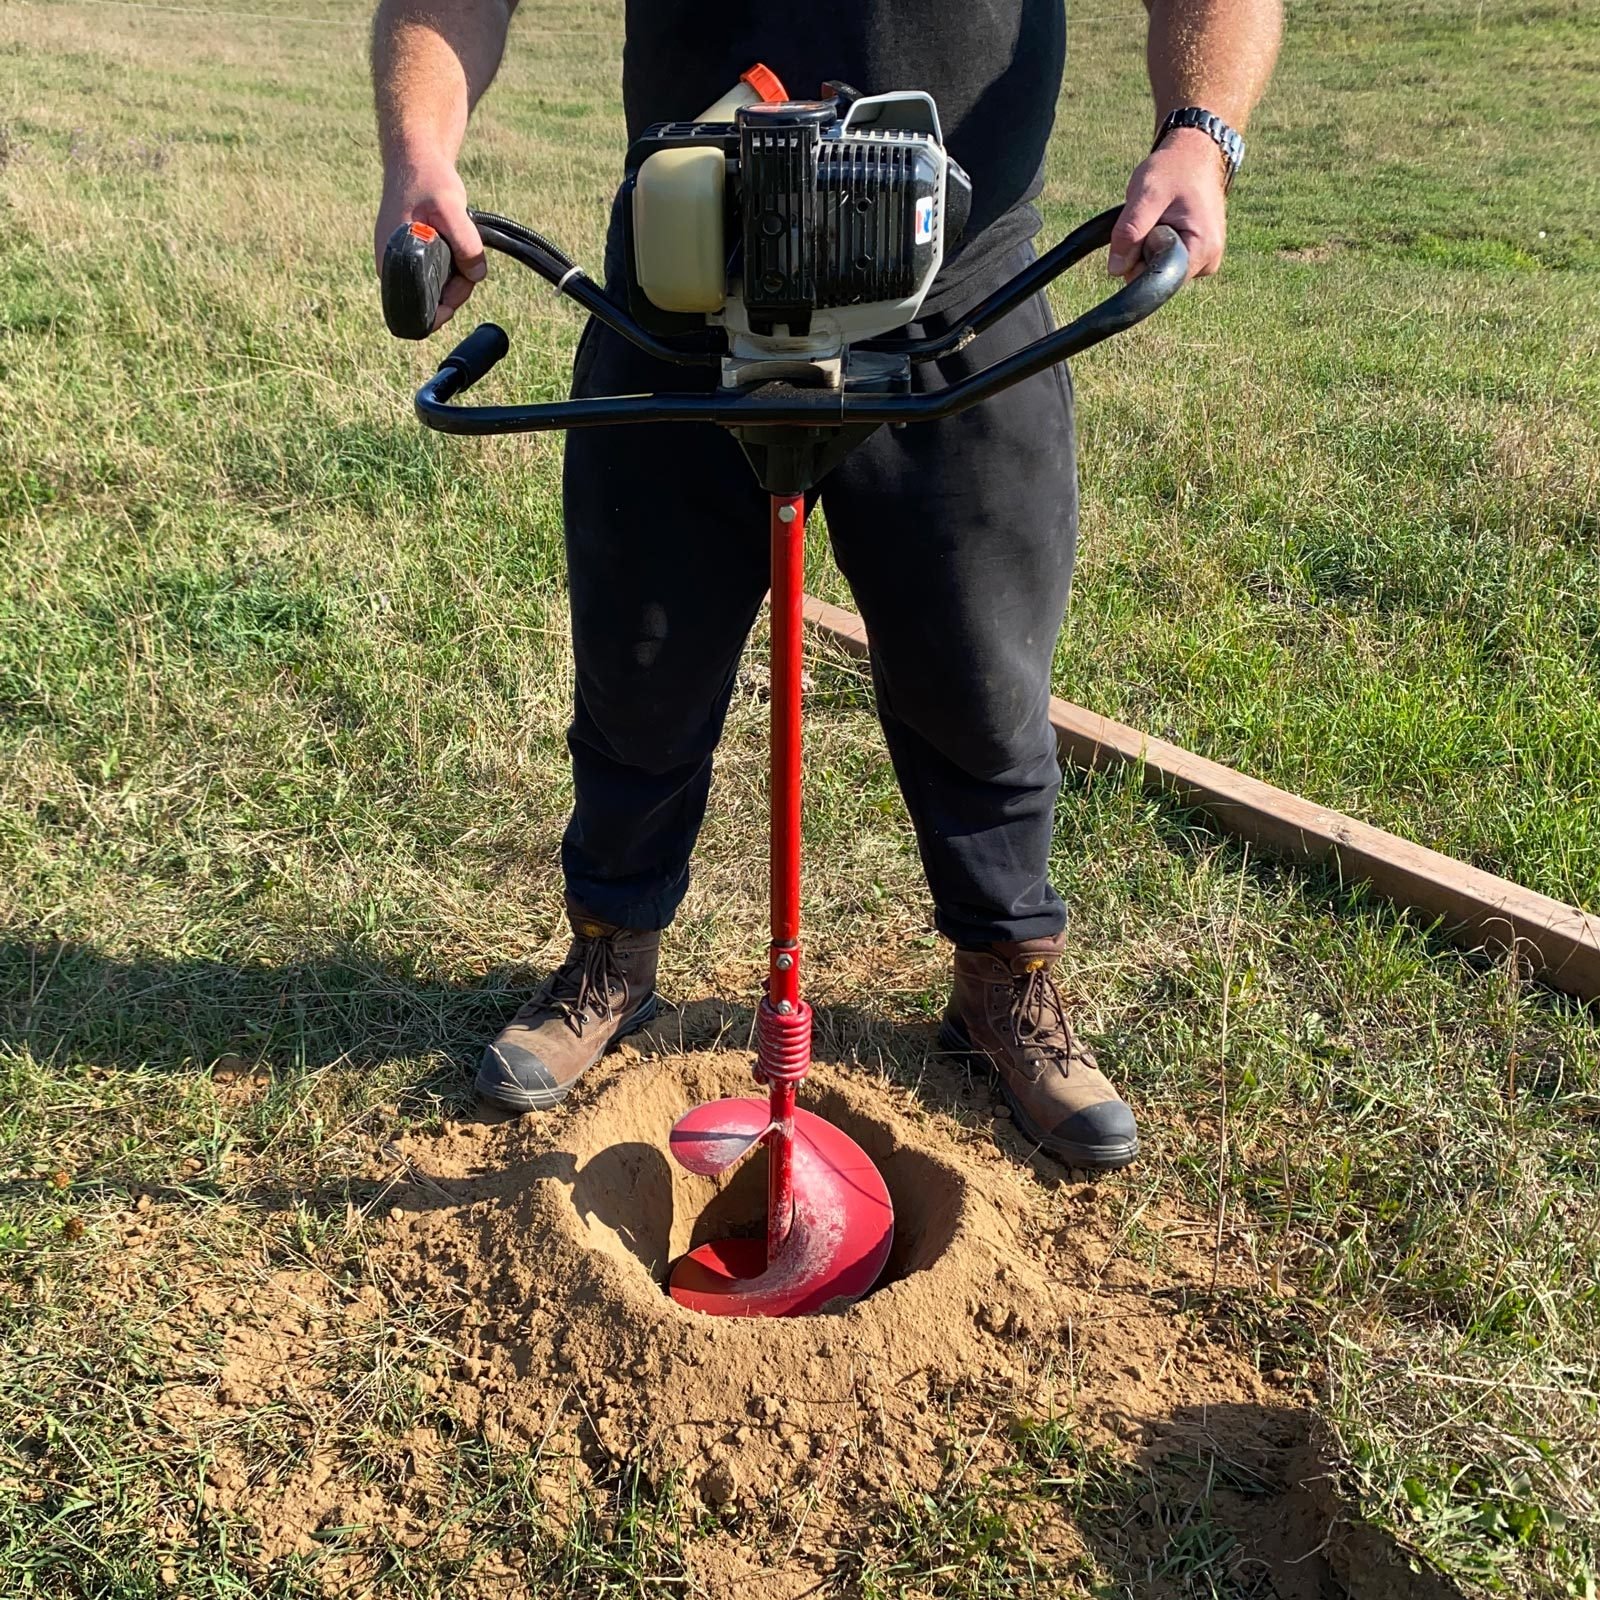
Using a Power Auger: Gas or Electric
A power auger saves time when you have many holes. Here is how to use a post hole digger with a power auger the safe way.
- Set the auger bit size to your hole plan.
- Clear the area and check for hazards.
- With a two-person auger, count down. Start with light throttle.
- Keep the auger vertical. Stop often to pull out spoil.
- If the bit binds, let go of the throttle at once. Do not fight the torque.
- Break rocks with a bar, then continue.
- Stop at depth. Widen by hand if needed for exact fit.
For a one-person auger, stand balanced and keep your core tight. Do not lean into the tool. Let the bit cut. This approach shows how to use a post hole digger with power while staying safe and efficient.
Pro Tips for Different Soils and Conditions
Soil changes everything. Tweak your plan to match what’s under your boots.
- Sand: Holes can cave. Work fast. Use forms or set posts right away. Add water lightly to firm sand while tamping.
- Clay: Sticky and heavy. Keep the tool clean. Mix some gravel in the backfill for drainage.
- Rocky soil: Use a digging bar. Pry rocks out from the sides. Alternate auger and hand tools.
- Roots: Cut cleanly. Do not tear. A pruning saw works well in tight holes.
- Slopes: Step your line and dig vertical at each post. Brace posts while concrete cures.
- Cold weather: Dig below frost line. Keep bags of concrete warm until use.
These tweaks are the heart of how to use a post hole digger like a pro in real life.
Setting Posts Right: Gravel, Concrete, and Backfill
A strong post needs a solid base. Most posts get a gravel bed. Many also use concrete.
- Gravel base: Add 6 inches. Tamp flat. This helps drainage and reduces rot.
- Set the post: Place on gravel. Check plumb with two faces of a level.
- Backfill with concrete: Use fast-set mix if you need speed. Add water per bag.
- Crown the top: Slope concrete away from the post to shed water.
- Brace and cure: Brace until set. Follow mix cure time before loading.
For wood posts in wet areas, I often use gravel-only set. It drains well. For gates and high wind zones, I use concrete with rebar pins into undisturbed soil. This blend of methods comes from years in the field.
If you came here to learn how to use a post hole digger for long-lasting posts, this is the step that locks in your success.
Common Mistakes and How to Fix Them
Even pros slip up. Here are quick fixes I’ve learned the hard way.
- Hole too wide: Pack backfill in lifts of 6 inches and tamp hard. Or sleeve with a form.
- Hole off the line: Shift the hole a bit by trimming the side wall and filling the opposite side.
- Bottom bell-shaped: Flatten with a tamp. Add gravel to level.
- Cave-ins: Scoop loose soil out. If needed, use a cardboard form to hold the wall.
- Water in hole: Pump it out. Add gravel base. Use wet-set concrete if allowed.
Knowing how to use a post hole digger includes knowing how to recover fast and clean.
Maintenance and Storage of Your Post Hole Digger
A sharp, clean tool digs straight and fast.
- Rinse off soil and clay after use.
- Dry the tool. Wipe metal with light oil to prevent rust.
- Sharpen edges lightly with a file. Do not change the angle much.
- Check bolts and pivots. Add grease if needed.
- Store indoors, upright, and out of damp.
Caring for your tools is part of how to use a post hole digger for years, not months.
Cost, Time, and When to Rent vs Buy
Time per hole varies by soil and size. In loam, a hand-dug 10-inch hole at 30 inches deep may take 10 to 20 minutes. In clay or rock, it can take much longer.
Manual diggers are budget-friendly. Power auger rentals are cheap for a weekend, and they save hours on big jobs. Buy if you build often or share tools with neighbors.
If you want to speed up how to use a post hole digger for a whole fence line, a rental auger and a helper are worth it.
Frequently Asked Questions of how to use a post hole digger
How deep should I dig for a fence post?
Aim for one-third of the post length in the ground and below the frost line. Most 6-foot fences use 24 to 36 inches of depth.
What size auger bit do I need?
Choose a bit 2 to 4 inches wider than the post. A 4×4 post pairs well with a 10 to 12-inch hole.
Can I use only gravel instead of concrete?
Yes, in well-drained soil and for lighter loads. Concrete is better for gates, corners, and high wind areas.
How do I keep the hole straight and plumb?
Use a string line and check vertical often with a level. Take small bites and correct early rather than late.
What if I hit rocks or roots?
Stop and clear the obstruction with a bar or saw. Do not force the tool, which can bend blades or cause kickback.
Is a power auger safe for one person?
Yes, with a small bit and good control, but be careful of kickback. For larger bits or tough soil, use a two-person model.
How do I use a post hole digger in sandy soil?
Work fast and brace the walls with a form if needed. Set posts soon and tamp backfill in thin lifts.
Should I bell the bottom of the hole?
A slight bell can help resist uplift in frost zones. Do not overdo it or you will lose drainage and compaction.
Conclusion
You now know how to use a post hole digger from start to set. Plan your layout, dig clean, stay safe, and match your method to your soil. A few smart habits, like using a gravel base and checking plumb often, turn hard labor into neat, lasting work.
Pick one project this week and try these steps on a single post. Master one hole, then repeat the system down your line. Want more hands-on guides like this? Subscribe for field-tested tips and ask your questions in the comments.