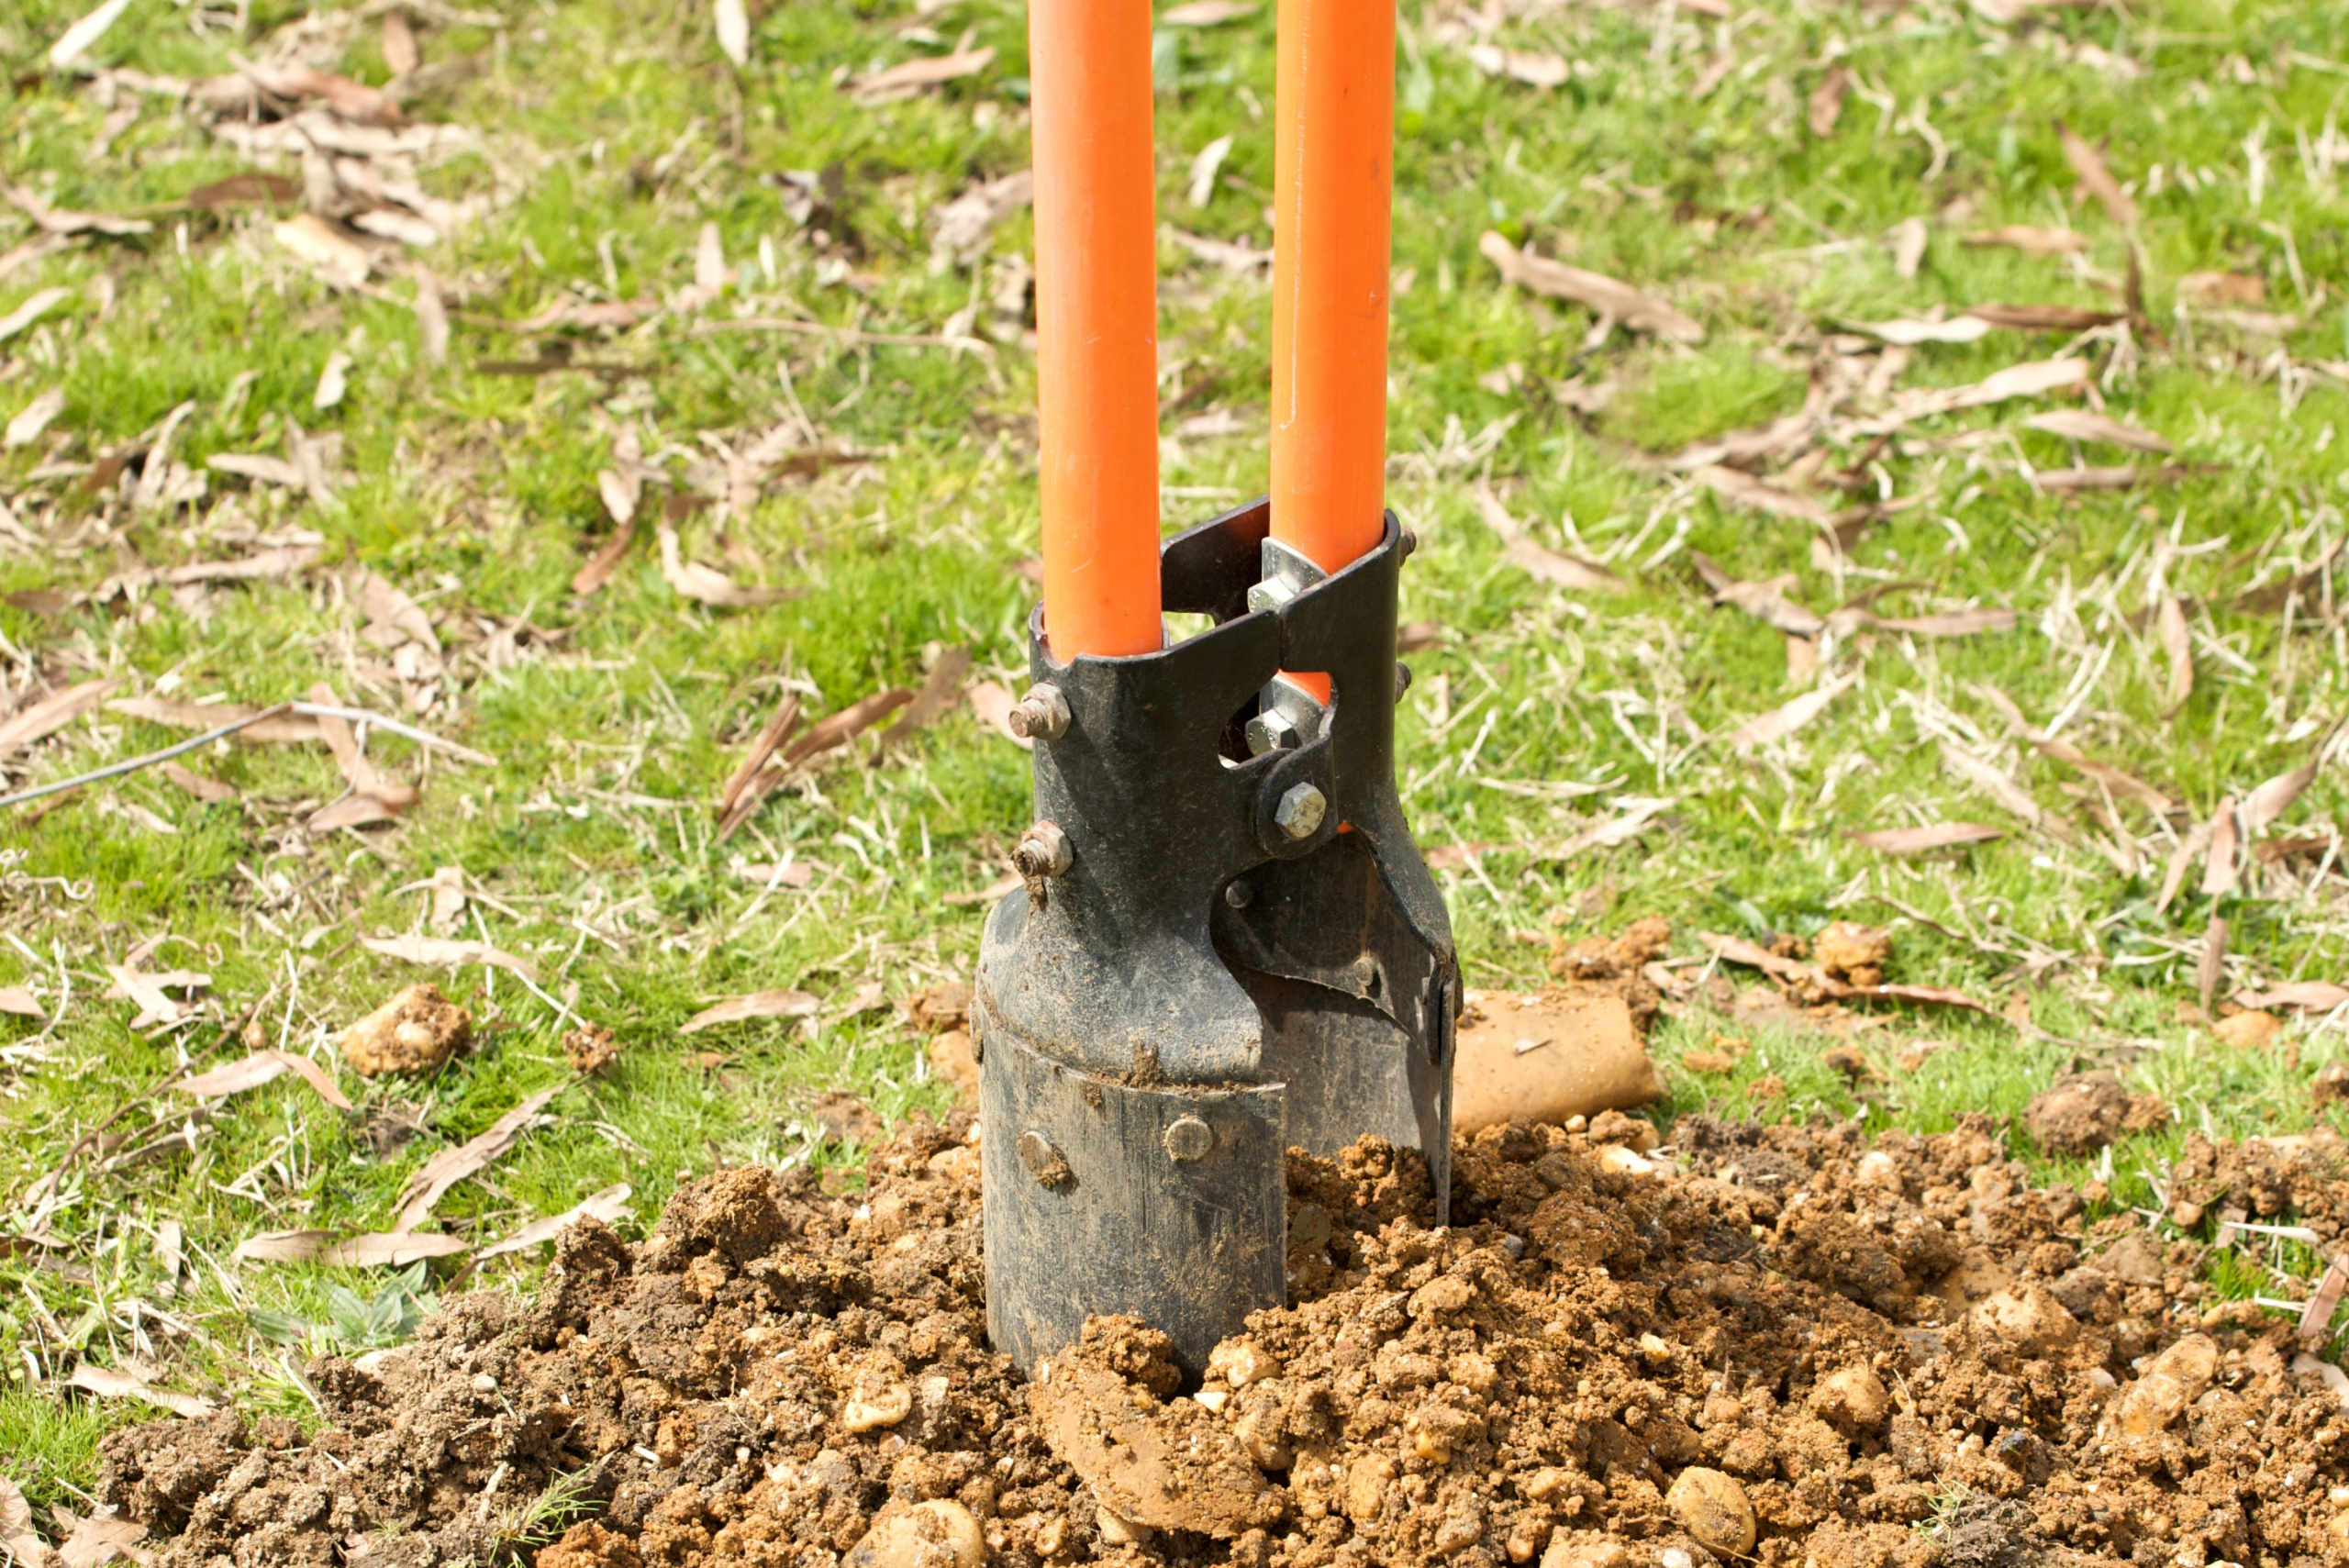
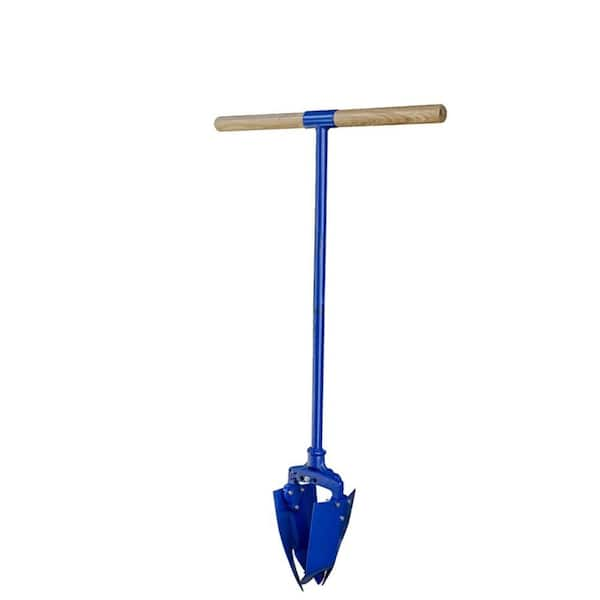
With a manual post hole digger, mark, plunge, twist, clamp, lift, and repeat.
If you want clean, straight post holes without renting a big auger, you are in the right place. I have dug hundreds of holes in clay, sand, and rocky soil. This guide shows how to use a manual post hole digger step by step, with pro tips, safety advice, and real results. Read on to learn how to use a manual post hole digger like a pro and avoid the pain points most people face.
Why a manual post hole digger still shines
A manual digger offers control, low cost, and quiet work. You can work in tight spaces, near trees, and along fences. You can set your depth with care, and you make less mess. For small to mid jobs, it is the best tool.
You do not need fuel or a large truck. You can carry it with one hand. If you have a few fence posts, a mailbox, or a small deck, it is ideal. Learning how to use a manual post hole digger well can save time and cash.
I use mine for repairs, corner posts, and spots where a power auger would hit roots. With the right form, each hole is neat and plumb. Once you learn how to use a manual post hole digger with good rhythm, the work feels smooth.
Gear checklist and site prep
Have the right gear before you start. It cuts time and keeps you safe.
Must-have tools:
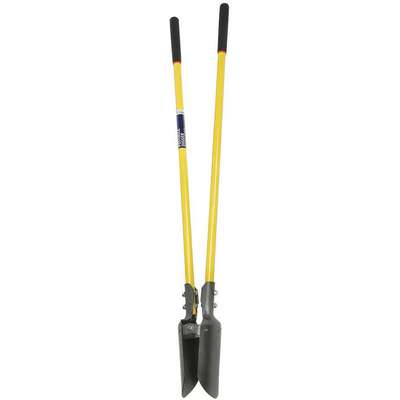
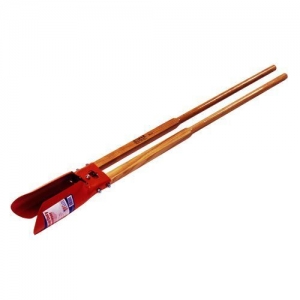
- Manual post hole digger, also called a clamshell digger
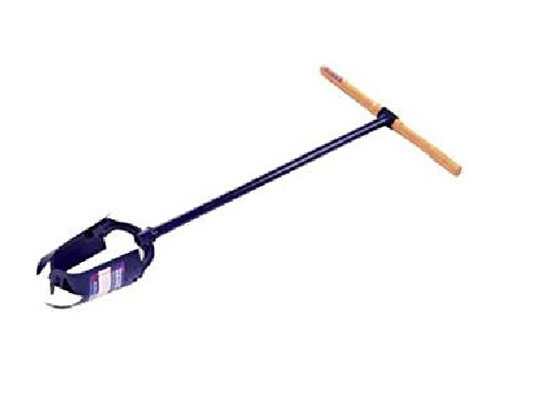
- Long digging bar or spud bar for rocks and roots
- Round point shovel and a trenching shovel
- Tape measure, level, and a plumb line
- Stakes, string line, and marking paint
- Gravel and concrete if you set posts
Safety and comfort:
- Work gloves and safety glasses
- Steel toe boots
- Knee pads and a back brace if needed
- Water and sun gear in hot weather
Prep your site:
- Call to check for buried lines before you dig.
- Mark your hole centers with paint or stakes.
- Use a string line to keep posts in a straight line.
- Trim sod where holes will go. A clean start helps.
Do a quick soil test with a shovel. Wet clay sticks to the blades. Dry sand caves in. This will shape how to use a manual post hole digger on your soil.
Step-by-step: how to use a manual post hole digger
Follow these steps to dig faster with less strain. This is the core of how to use a manual post hole digger.
- Mark the center. Stand with your toes clear of the mark. Keep your back straight.
- Open the digger. Drop the open blades straight down on the center mark.
- Drive the blades. Press down with your body weight. In hard soil, twist as you push.
- Close the handles. Clamp the soil between the blades.
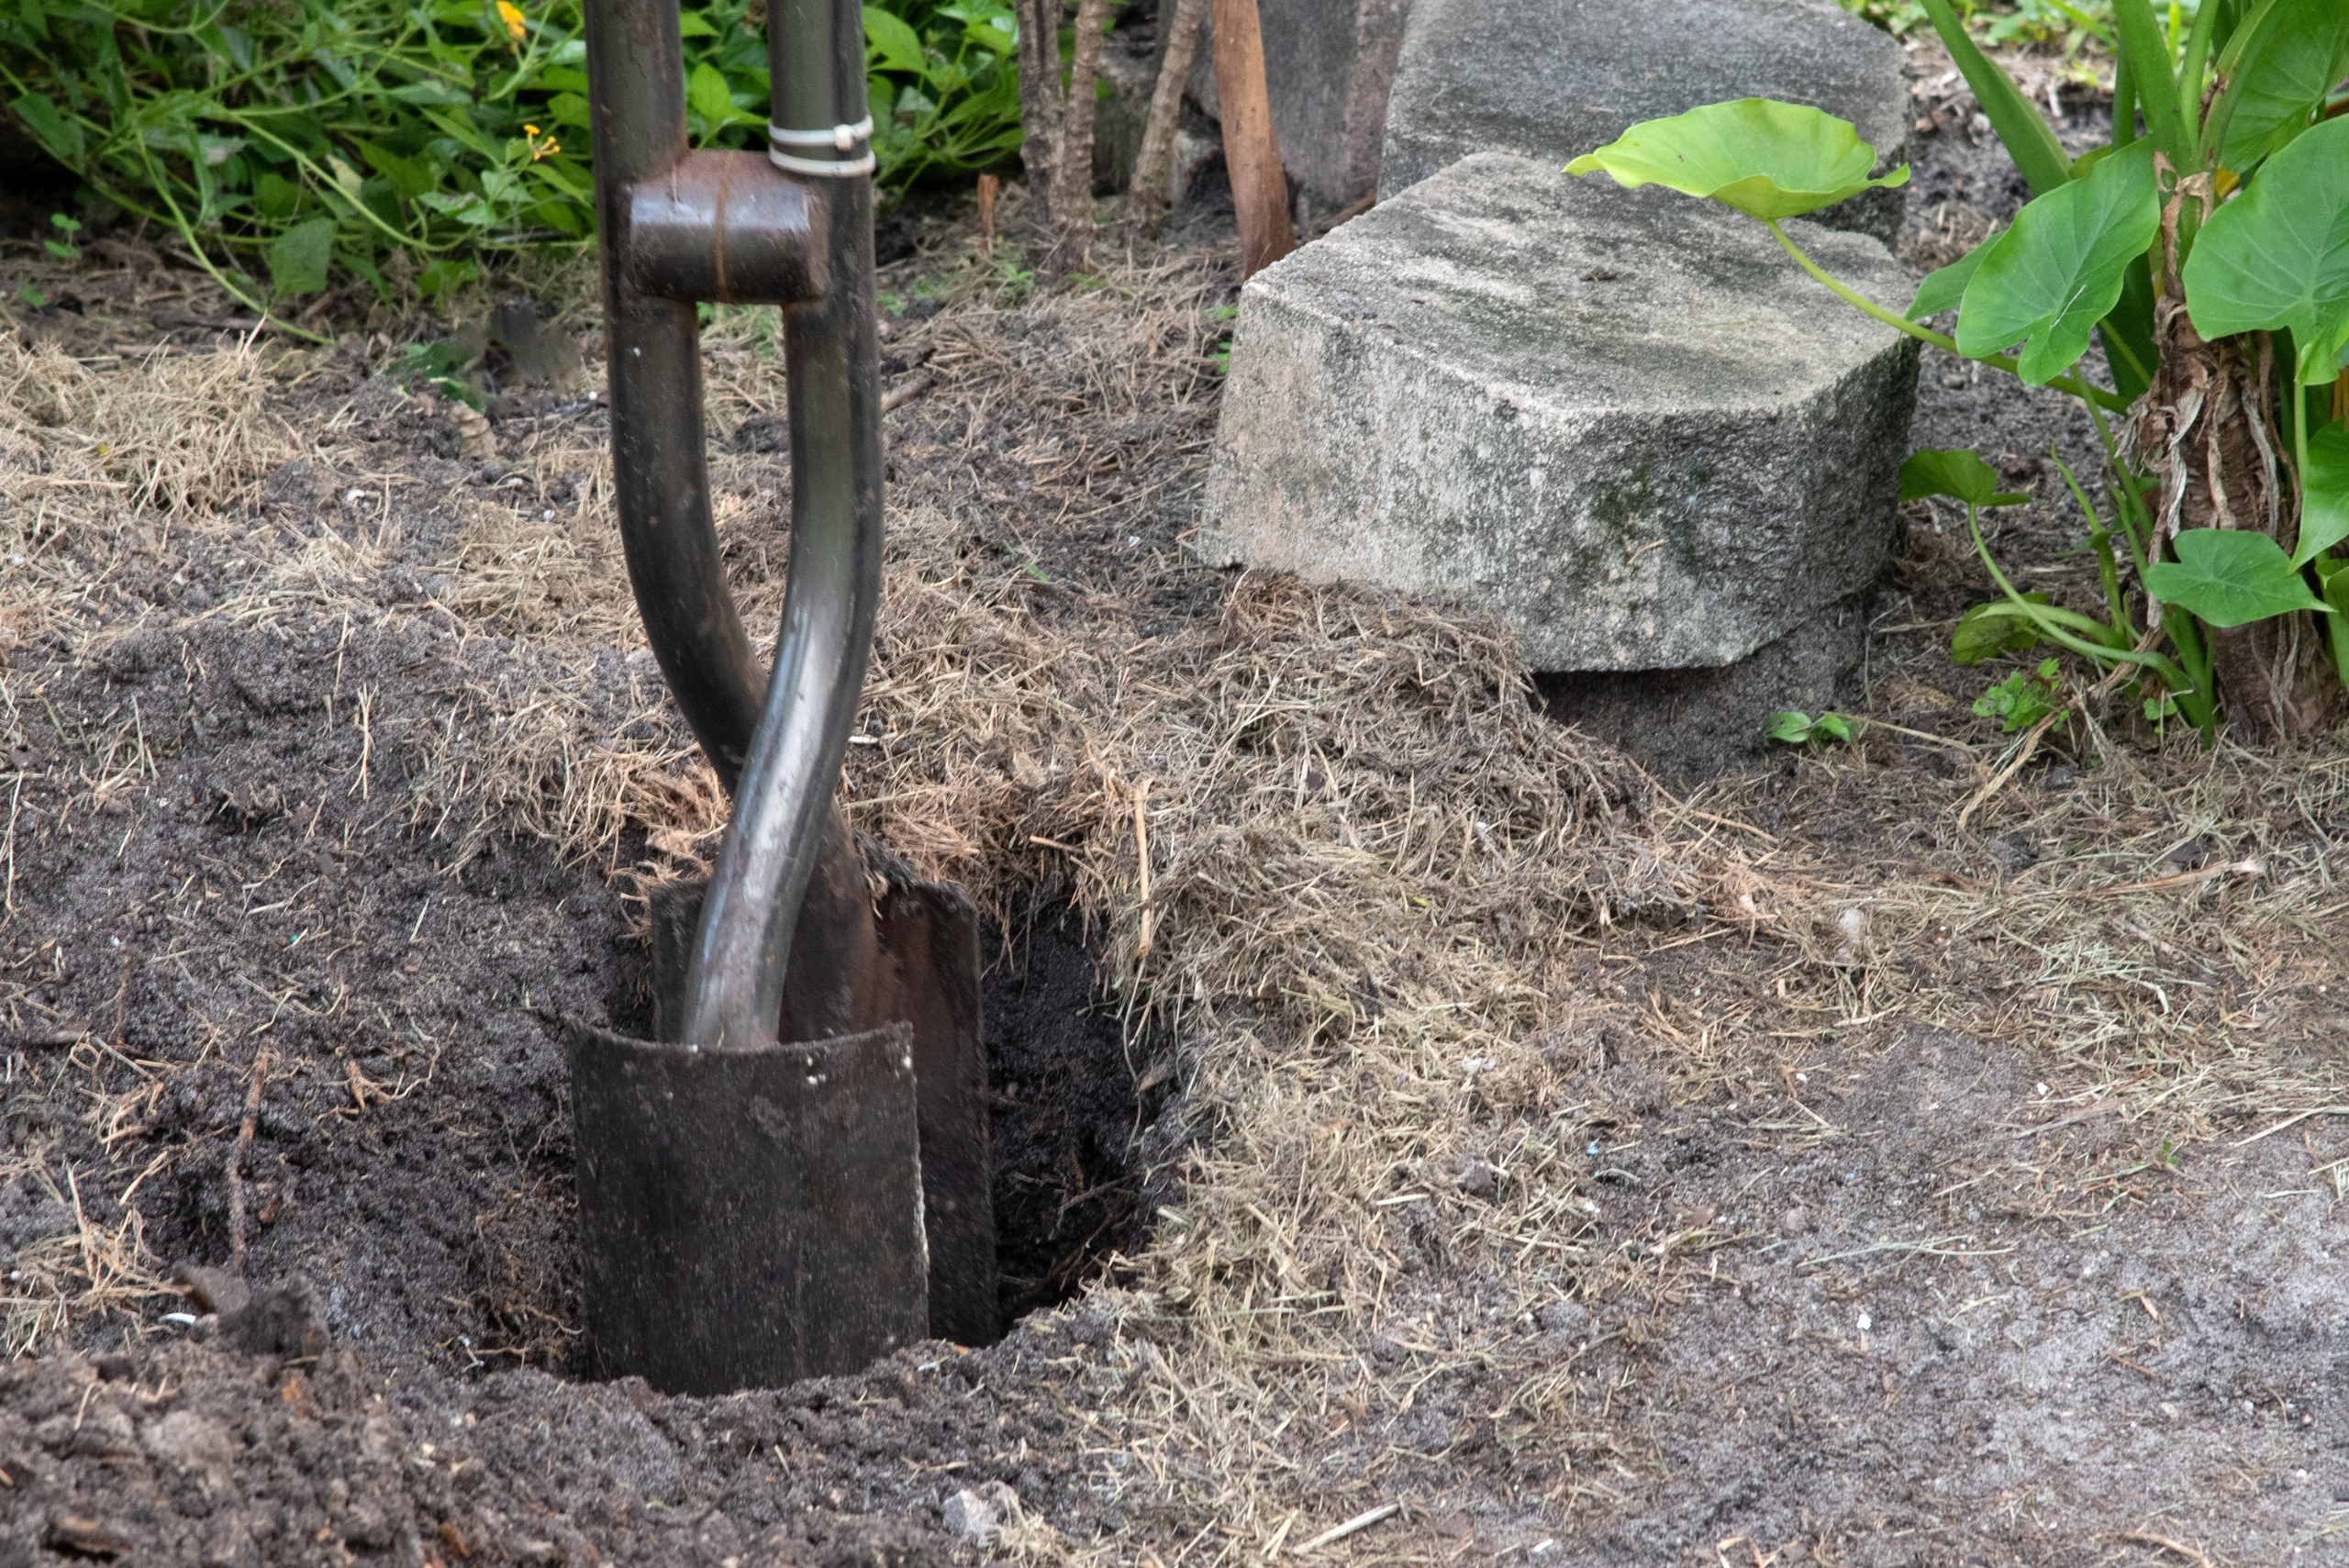
- Lift and dump. Pull the tool up. Step aside and dump the soil in a pile.
- Clean the hole. Use a digging bar to break clumps. Scoop again.
- Check plumb. Use a level on the tool shafts or a plumb line in the hole.
- Repeat in short cuts. Dig 3 to 4 inches at a time for clean walls.
- Keep the hole round. Twist the open blades to shape and keep the center true.
- Measure often. Check depth and diameter so you do not overwork the hole.
Pro rhythm tip: Count a slow four-beat as you work. Drop, close, lift, dump. This cadence helps you get into flow and reduces wasted motion. This is the small secret in how to use a manual post hole digger all day without burning out.
Hole size, depth, and code basics
Most fence posts need a hole 2 to 3 times the post width. A 4 by 4 post needs a 10 to 12 inch hole. Depth is key. In cold zones, go below the frost line to stop frost heave.
General guides:
- Line fence posts: 2 feet to 2.5 feet deep
- Gate and corner posts: 3 feet deep or more
- Deck footings: As per code, often 36 inches or more
Check local rules before you dig. Some areas need inspection. Soil load and frost depth change by region. A quick call saves a redo and keeps your build safe.
If you are unsure how to use a manual post hole digger for deeper holes, plan to dig in stages. Clear spoil often so the blades can close and bite clean.
Techniques for clay, sand, rocks, and roots
Soil type changes the plan. Here is how to use a manual post hole digger across common soils.
Clay
- Dig after light rain or the day after watering.
- Wipe blades with a thin coat of oil to reduce stick.
- Take shallow bites and tap the handles to free sticky clay.
Sand
- Moisten the area before you start. Not too much.
- Use a form tube or a bucket to hold the sides if it caves in.
- Shovel the top inch often to keep the hole crisp.
Rocky soil
- Use the digging bar to pry and break small rocks first.
- Angle the open blades to scoop between rocks.
- For large rocks, widen the top, remove the rock, then re-round.
Roots
- Cut thin roots with loppers or a small saw.
- For thick roots, use the bar to notch, then cut. Do not twist hard on roots with the digger. It can bend the blades.
Wet or frozen soil calls for a pause. Focus on safety. If you must dig, remove thin layers and clear often. Knowing how to use a manual post hole digger in tough ground comes down to patience and small, steady cuts.

Layout and keeping holes in line
Straight fences start with straight lines. This is where many people trip up.
Use this plan:
- Set corner stakes and pull a tight string line.
- Mark each hole on the ground under the string.
- For each hole, set the digger centered on the mark, not by sight.
- Check line often. A small drift adds up over long runs.
If your string sags, support it every 8 to 10 feet. When learning how to use a manual post hole digger on long lines, small checks keep your finish clean.

Ergonomics and safety that save your back
Form matters. How you stand and move decides how you feel tomorrow.
Simple rules:
- Keep the tool close to your body. Do not reach.
- Use your legs to drive the blades, not just your arms.
- Keep your back straight and your core tight as you lift.
- Switch lead hand every few holes to avoid overuse.
- Take a two-minute break every 15 minutes to sip water and stretch.
Wear gloves that grip. Soil and sweat make handles slick. If you learn how to use a manual post hole digger with smooth, controlled moves, you cut strain and avoid blisters.
Maintain your manual post hole digger
A sharp, clean tool digs faster. Five minutes of care saves an hour in the yard.
Do this after each job:
- Rinse off soil and grit.
- Dry the blades to prevent rust.
- Wipe metal parts with a light oil.
- Check bolts and pivot pins. Tighten if loose.
- Touch up edges with a file if dull or nicked.
- Store indoors to keep wood or fiberglass handles in good shape.
If the handles creak or the hinge binds, a drop of oil in the joint helps. When you know how to use a manual post hole digger well, you also know how to keep it ready for the next job.
Backfilling and setting posts right
The hole is only half the job. A strong set keeps the post true for years.
For wood posts in soil:
- Drop 4 to 6 inches of gravel in the bottom for drainage.
- Set the post and check plumb on two faces.
- Backfill soil in small lifts, tamp each lift tight.
- Recheck plumb every few inches.
For concrete set:
- Add gravel at the bottom for drainage if allowed.
- Mix concrete to a thick paste. Fill to grade or slope the top away from the post.
- Brace the post plumb until the mix sets.
- Shield the base from pooling water.
Sand backfill packs poorly. Use a bit of water to help settle. Clay needs firm tamping. As you learn how to use a manual post hole digger, you will feel how each soil type responds to tamping.
Time-saving pro tips and common mistakes
Hard-won lessons make the work smooth. Here is what I wish I knew early on.
Tips that help:
- Pre-water hard soil the night before.
- Mark target depth on the handles with tape.
- Use a five-gallon bucket to carry out spoil if space is tight.
- Keep a small hand trowel to clean the bottom.
- Work in the cool part of the day.
Mistakes to avoid:
- Over-digging the hole. It wastes effort and more concrete.
- Skipping layout checks. One crooked post draws the eye.
- Lifting huge loads with each scoop. Many small scoops are faster and safer.
- Twisting hard on roots with the blades closed. You can bend the tool.
- Ignoring local code. You may need to redo the hole.
These small points turn into big wins when you master how to use a manual post hole digger.
Cost, alternatives, and when to go powered
A manual digger is cheap, simple, and always ready. But there are times to call in more power.
Use a manual digger when:
- You have fewer than 20 holes
- Space is tight or access is tricky
- You need precise depth and clean walls
Consider a power auger when:
- You have many holes or deep footings
- Soil is soft and open space is ample
- Time is more valuable than rental cost
Many pros blend both methods. Bore most of the depth with an auger. Finish with a manual digger to size and clean the hole. Even then, knowing how to use a manual post hole digger is key to a clean finish.
Frequently Asked Questions of how to use a manual post hole digger
How deep should I dig for a 4 by 4 fence post?
Aim for at least 2 feet deep, or one third of the post length. In cold areas, go below the local frost line.
How wide should the hole be for my post?
Make the hole 2 to 3 times the post width. A 4 by 4 needs about a 10 to 12 inch hole.
What if my hole keeps caving in?
Moisten sandy soil and dig in small lifts. Use a form tube to hold sides if needed.
Can I dig through roots with the post hole digger?
Cut roots with loppers or a saw. Use a digging bar to notch big roots, then remove them.
How do I keep the hole straight and plumb?
Check often with a level and plumb line. Keep the tool centered on your mark and take small, even scoops.
What is the best time to dig in clay?
The day after light rain or after pre-watering. Clay is softer then and less sticky.
Should I put gravel at the bottom of the hole?
Yes, 4 to 6 inches helps drainage and reduces rot. It also gives the post a firm base.
Conclusion
Mastering how to use a manual post hole digger is about rhythm, form, and prep. Mark your line, take small bites, measure often, and keep the tool sharp. With simple habits and smart checks, you get straight, strong posts that last.
Pick one small project and put this guide to work. Set two posts this weekend. You will feel the flow by the second hole. Want more practical tips? Subscribe for fresh guides, or drop a question in the comments so I can help with your specific site.